How to Clean Your Single-Serve Coffee Maker
To clean your single-serve coffee maker, start by gathering white vinegar, baking soda, a soft cloth, and a brush. Unplug the machine, empty the water reservoir, and remove leftover coffee grounds. Descale the machine every three to six months using vinegar or a commercial descaler. Clean the water reservoir with mild soap, wash the brew basket and drip tray with warm water, then rinse everything thoroughly before reassembling. Want to know how to maintain your coffee maker’s performance?
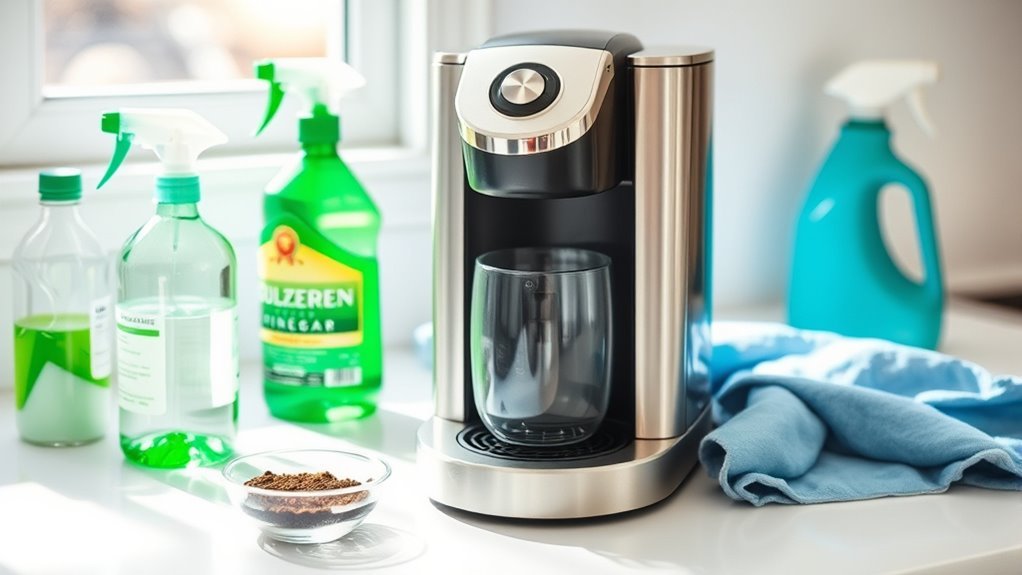
Gather Your Cleaning Supplies

Before diving into the cleaning process, it’s essential to gather your cleaning supplies. Start with necessary cleaning tools like white vinegar, baking soda, and a soft cloth or sponge. These items are effective and safe for your coffee maker. If you have a reusable filter, don’t forget to grab a brush or a soft scrubber to remove any stubborn residue.
Next, consider your cleaning frequency. Regular maintenance helps guarantee your coffee maker stays in top shape, so plan to clean your machine at least once a month. With your supplies ready and a cleaning schedule in mind, you’re set to restore your coffee maker to its peak performance. This preparation will make the cleaning process smoother and more efficient, giving you freedom to enjoy your coffee.
Prepare Your Coffee Maker
To prepare your coffee maker for cleaning, start by unplugging it to guarantee safety during the process. Next, remove any leftover coffee grounds and empty the water reservoir. This step not only enhances coffee quality but also contributes to your machine’s longevity. Here’s a quick checklist to confirm you’re ready:
| Step | Action | Purpose |
|---|---|---|
| Unplug the machine | Disconnect from power | Safety first |
| Empty the reservoir | Remove old water | Prevents stale flavors |
| Remove coffee grounds | Clear out used materials | Maintains fresh coffee |
| Gather cleaning tools | Prepare supplies | Confirm effective cleaning |
Descale the Machine

Descaling your coffee maker is vital for maintaining its performance and ensuring the best flavor from your brews. Over time, mineral buildup can affect both the efficiency of the machine and the quality of your coffee. To keep things running smoothly, it’s important to choose the right descaling solution and establish a regular descaling schedule.
Importance of Descaling
While you might not notice it right away, mineral buildup from hard water can considerably impact your coffee maker’s performance and the taste of your brew. Regular descaling is essential to guarantee your machine operates efficiently and maintains the rich flavor you love. Ignoring this process can lead to clogged pipes, reduced brewing temperature, and ultimately a shorter lifespan for your coffee maker. The descaling benefits include improved water flow, enhanced flavor extraction, and prevention of potential damage. By keeping your machine free of mineral buildup, you’re not just protecting your investment; you’re also assuring a consistently delightful coffee experience. So, make descaling a regular part of your maintenance routine, and enjoy every cup to its fullest potential.
Recommended Descaling Solutions
Regularly using the right descaling solution can make a significant difference in your coffee maker’s performance. You’ve got a few great options to choose from, whether you prefer store-bought solutions or natural alternatives. Here are some recommended descaling solutions:
- Commercial descalers: Specifically formulated to tackle limescale buildup and improve machine longevity.
- White vinegar: An affordable option, vinegar benefits include its natural acidity which effectively dissolves mineral deposits.
- Citric acid: A powerful descaling alternative that’s eco-friendly and safe for your machine.
Whichever solution you choose, make sure to follow the manufacturer’s guidelines for usage. This will keep your coffee maker running smoothly and your brew tasting its best. Enjoy your coffee freedom!
Descaling Frequency Guidelines
To keep your coffee maker in prime condition, it’s crucial to establish a descaling schedule that fits your usage. If you use your machine daily, aim to descale every three months. For occasional users, every six months should suffice. Pay attention to frequency indicators like reduced water flow, a bitter taste, or visible mineral buildup—these are signs it’s time to descale. Utilize effective descaling methods, such as vinegar or commercial solutions, to maintain peak performance. Always follow your manufacturer’s recommendations for the best results. By sticking to a routine and being mindful of these indicators, you’ll guarantee your coffee maker brews delicious coffee while extending its lifespan, giving you the freedom to enjoy your mornings without hassle.
Clean the Water Reservoir
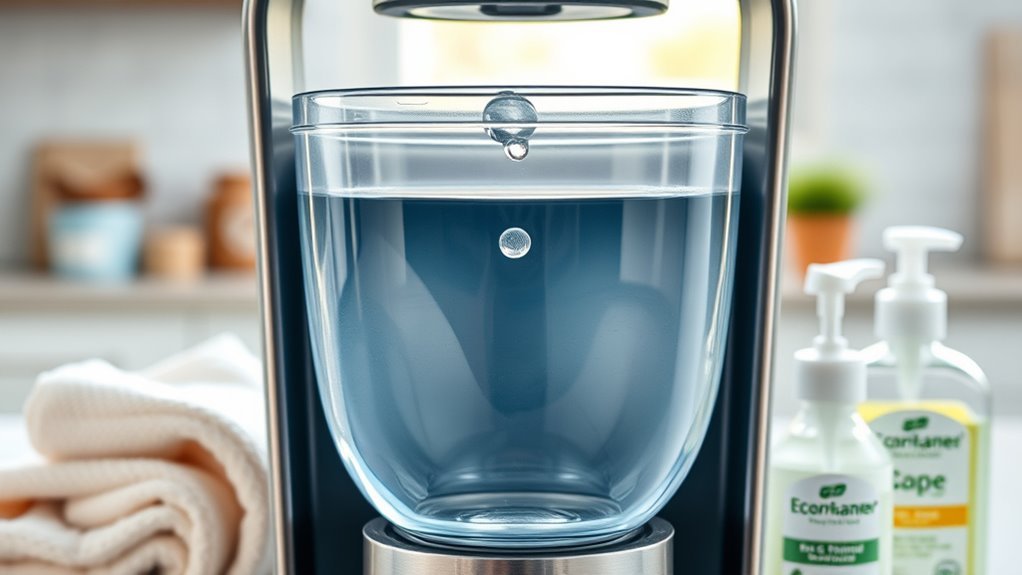
Although you might not think about it often, cleaning the water reservoir of your coffee maker is crucial for maintaining the quality of your brews. Regular reservoir maintenance helps prevent mold, bacteria, and mineral buildup that can affect both your coffee’s taste and your machine’s lifespan. Here’s how to keep it fresh:
Cleaning your coffee maker’s water reservoir is essential for great tasting coffee and a longer machine lifespan.
- Empty the reservoir: Pour out any leftover water.
- Use a mild detergent: Mix warm water with a few drops of mild dish soap and scrub the inside with a soft cloth or sponge.
- Rinse thoroughly: Verify no soap residue remains, as it can impact water quality.
Wash the Brew Basket and Drip Tray
Now that you’ve cleaned the water reservoir, it’s time to focus on the brew basket and drip tray. Start by gathering your cleaning supplies, such as warm soapy water and a soft sponge. Once you’ve disassembled these components carefully, you can clean and rinse them thoroughly to guarantee your coffee maker brews the best-tasting coffee.
Gather Necessary Supplies
Before diving into the cleaning process, you’ll need a few essential supplies to effectively wash the brew basket and drip tray of your coffee maker. Having the right tools makes all the difference in using effective cleaning techniques and following maintenance tips. Here’s what you’ll need:
- Mild dish soap
- Soft sponge or cloth
- Warm water
Start by ensuring you have these items on hand. A mild dish soap will help break down any coffee residue without damaging your machine. A soft sponge or cloth is important to avoid scratches while you clean. And don’t forget warm water to rinse everything thoroughly. With these supplies, you’re well-equipped to keep your coffee maker in top shape and enjoy your brews freely!
Disassemble Components Carefully
To effectively clean your coffee maker, start by carefully disassembling the components, paying special attention to the brew basket and drip tray. Make certain to keep track of each part for easy reassembly later. Organizing these components can save you time and hassle.
| Component | Purpose | Cleaning Tip |
|---|---|---|
| Brew Basket | Holds coffee grounds | Rinse thoroughly after use |
| Drip Tray | Catches spills | Wipe with a damp cloth |
| Water Reservoir | Stores water | Clean with vinegar solution |
| Housing | Main body of the maker | Wipe exterior with a cloth |
Disassemble carefully to guarantee no pieces get lost or damaged. A little organization goes a long way in maintaining your coffee maker’s efficiency!
Clean and Rinse Thoroughly
Once you’ve disassembled your coffee maker, it’s crucial to clean and rinse the brew basket and drip tray thoroughly to remove any lingering coffee oils and residue. Effective cleaning techniques can greatly enhance your coffee’s flavor and your machine’s longevity. Start by using warm, soapy water to scrub these components gently.
Here are some rinsing methods to take into account:
- Rinse each item under hot water to guarantee all soap is removed.
- Use a soft brush to reach any hard-to-clean areas.
- Let them air dry completely before reassembling.
Rinse and Reassemble
After you’ve completed the cleaning cycle, it’s essential to rinse and reassemble your coffee maker properly to guarantee it’s ready for your next brew. Begin by using the rinse method: fill the water reservoir with fresh water and run a cycle without any coffee pods. This helps eliminate any lingering cleaning solution. Next, carefully detach the parts you’ve cleaned, ensuring they’re dry before reassembling. Pay attention to the orientation of each piece; misplacing components can lead to brewing issues. For reassemble tips, consult your coffee maker’s manual if you’re unsure. Once everything’s back in its rightful place, give it a final wipe-down. Your coffee maker should now be primed for a delightful cup of coffee whenever you’re ready!
Run a Test Brew
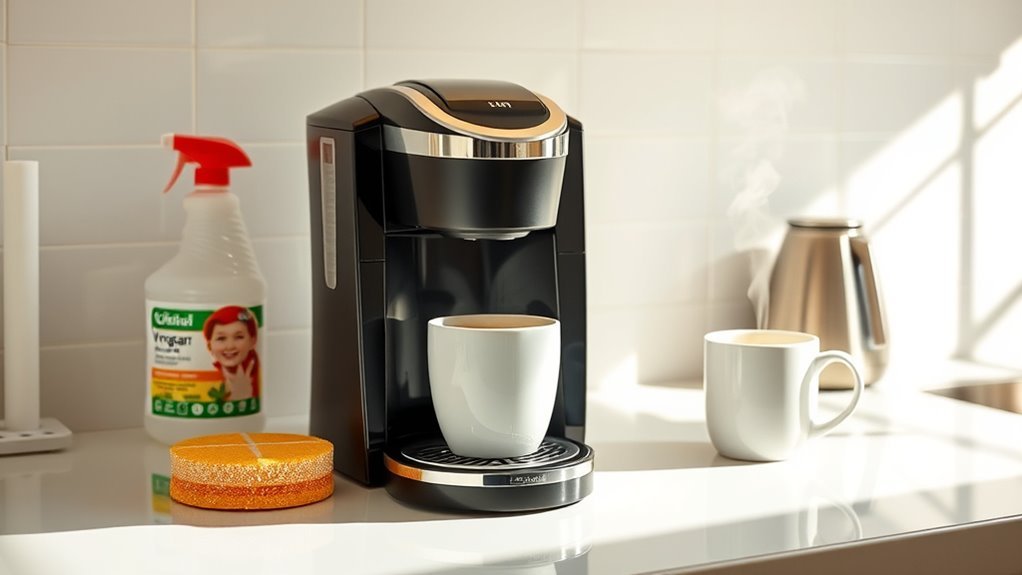
Running a test brew is an essential step to confirm your coffee maker is functioning at its best after cleaning. This not only verifies everything is working properly, but it also helps you enjoy the full test brew benefits. Here’s how to optimize flavor and make certain you’re ready for your next cup:
- Use fresh water: Fill the reservoir with clean water to flush out any remaining cleaning solution.
- Brew without coffee: Run a cycle without coffee grounds, allowing the water to run through the system.
- Taste and adjust: After brewing, taste the water. If it’s clear and fresh, you’re good to go!
Following these steps will help you enjoy a delicious cup every time. Happy brewing!
Frequently Asked Questions
How Often Should I Clean My Single-Serve Coffee Maker?
Think of your single-serve coffee maker like a trusty steed; it needs regular grooming to keep performing its best. You should clean it at least once a month, but if you use it daily, consider a bi-weekly cleaning frequency. This will help maintain peak taste and prevent buildup. Follow these maintenance tips: run a vinegar solution through it, rinse thoroughly, and clean the removable parts to guarantee your coffee stays fresh and delicious.
Can I Use Vinegar Instead of Descaling Solution?
Yes, you can use vinegar instead of a descaling solution. Vinegar’s benefits include its natural acidity, which effectively breaks down mineral buildup. It’s a cost-efficient descaling alternative that’s readily available. Just mix equal parts vinegar and water, run it through your machine, and then rinse thoroughly with water. This method not only cleans your coffee maker but also guarantees your brews taste fresh. Enjoy the freedom of using a simple, natural cleaning solution!
Is It Safe to Put Parts in the Dishwasher?
When considering dishwasher safety, it’s essential to check the manufacturer’s guidelines for part compatibility. Some components, like water reservoirs, might be dishwasher safe, while others, such as electrical parts, should never go in. To avoid damaging your coffee maker, always verify which parts are suitable for a wash cycle. If in doubt, hand washing with mild soap is a safer option to maintain your machine’s longevity without risking any damage.
What if My Coffee Maker Has a Persistent Bad Smell?
If your coffee maker’s got a persistent bad smell, you’re not alone. Try some bad smell remedies like running a solution of equal parts water and white vinegar through it. This helps with odor elimination techniques. Afterward, run a couple of cycles with just water to rinse. You might also consider cleaning the removable parts regularly and storing your machine in a cool, dry place to prevent any future odors. Enjoy your fresh brews!
Will Cleaning Affect the Taste of My Coffee?
Ever wondered how a clean coffee maker could enhance your morning brew? Cleaning your machine won’t just keep it running smoothly; it’ll actually improve the coffee flavor. Neglecting maintenance can lead to buildup that masks the rich notes of your favorite beans. By regularly cleaning your coffee maker, you guarantee every cup tastes as it should, freeing your taste buds from unwanted flavors. So, don’t skip this essential step in your coffee routine!