How to Clean Your AeroPress
To clean your AeroPress, gather your supplies: a soft brush, dish soap, and a microfiber cloth. Disassemble your AeroPress, removing the plunger and filter cap. Rinse the filter cap and scrub the plunger and chamber with warm, soapy water, inspecting the silicone gasket for wear. After rinsing, reassemble it snugly and store it in a cool, dry place. Keeping your AeroPress clean not only elevates your brew’s flavor but also guarantees its longevity. There’s more handy tips to explore!
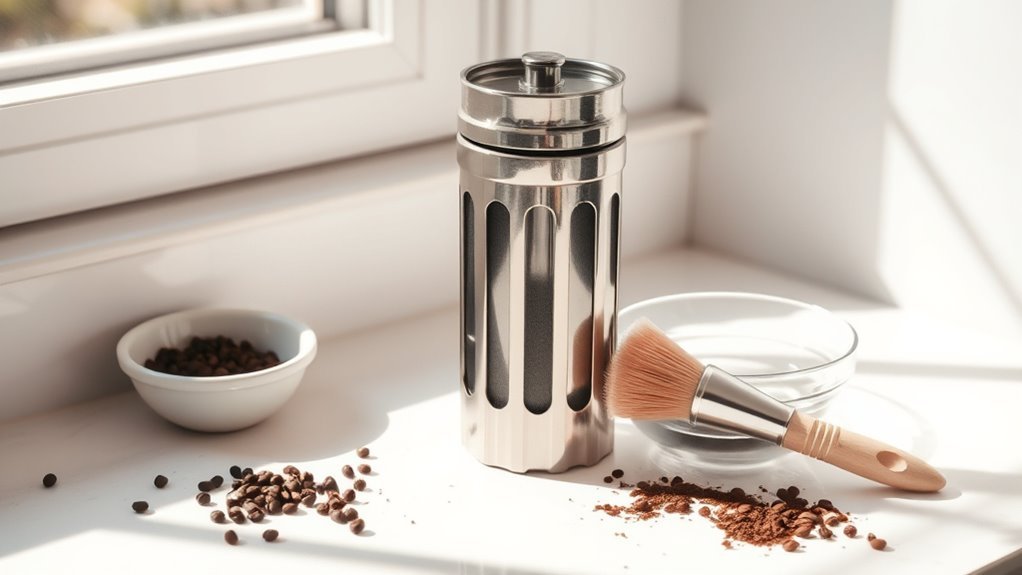
Gather Your Cleaning Supplies

To kick off your AeroPress cleaning routine, grab a few essential supplies that make the process quick and effective. You’ll need some cleaning tools: a soft brush, dish soap, and a microfiber cloth. The brush gently scrubs away coffee grounds without scratching, while the soap guarantees everything’s squeaky clean. Don’t forget a bowl of warm water to soak those stubborn parts! These simple maintenance tips will help you maintain the longevity of your AeroPress and guarantee every cup tastes fresh. With the right supplies at hand, you’re not just cleaning; you’re embracing a ritual that keeps your coffee experience pure and invigorating. So, let your AeroPress shine, and revel in the freedom of a perfectly brewed cup!
Disassemble Your AeroPress
Now that you’ve gathered your cleaning supplies, it’s time to disassemble your AeroPress for a thorough clean. Start by holding the AeroPress firmly, then remove the plunger with a gentle pull. Disassemble carefully, as you want to avoid damage to the seals or components. Next, twist off the filter cap and set it aside. This is your chance to appreciate the simplicity of its design; each piece plays a crucial role in your coffee-making experience. Once you’ve separated the parts, you’re ready for the next step. Remember, taking the time to disassemble properly guarantees your AeroPress will serve you well for countless brews to come, keeping your coffee ritual as liberating as that first sip.
Remove Coffee Grounds

With a swift motion, tilt your AeroPress over a compost bin or trash can to release the spent coffee grounds. This simple act of coffee grounds disposal not only clears your workspace but also fosters a sense of freedom in your brewing ritual. Make certain to follow these steps to guarantee a smooth process while preventing clogging:
- Use a gentle tap to shake out any stubborn grounds clinging to the edges.
- Rinse the filter to remove residual oils that can affect future brews.
- Check the plunger for any trapped grounds, giving it a quick twist.
- Dispose of the coffee grounds responsibly, perhaps even adding them to your garden.
Your AeroPress will thank you, and so will the planet!
Clean the Plunger and Chamber
Now that you’ve cleared out the coffee grounds, it’s time to give the plunger and chamber the attention they deserve. Disassemble the AeroPress for a thorough cleaning, and let warm, soapy water work its magic on every surface. A proper rinse and dry will guarantee your coffee maker stays in top shape for your next perfect brew.
Disassemble for Thorough Cleaning
To achieve a spotless AeroPress, you’ll want to disassemble it for a thorough cleaning of both the plunger and chamber. Regular disassembly is vital for maintaining your beloved brewing tool, so let’s embrace these simple techniques:
- Remove the plunger: Gently pull it out, making sure no grounds are left behind.
- Separate the chamber: Twist it apart from the filter cap, liberating any stubborn coffee remnants.
- Inspect seals: Check the silicone gasket for any wear; a fresh seal guarantees a perfect brew every time.
- Establish cleaning frequency: Aim for a deep clean once a week, or more often if you’re a daily brew master.
With this mindful approach, you’ll keep your AeroPress in peak condition, ready to serve freedom in every cup!
Use Warm Soapy Water
Since a clean AeroPress is essential for brewing that perfect cup, using warm soapy water is your next step in the cleaning process. Grab your favorite dish soap—just a drop will do! Fill your sink with warm water, allowing it to embrace the plunger and chamber. This gentle warmth helps dissolve any stubborn coffee oils or residue clinging to your beloved device. Use a soft sponge or cloth, applying light pressure as you scrub. Remember, some soap types may be more effective than others, so choose one that’s gentle yet powerful. This step not only revitalizes your AeroPress but also guarantees every sip of coffee bursts with flavor. Enjoy the freedom of a beautifully clean brewing tool!
Rinse and Dry Properly
After soaking your AeroPress in warm soapy water, it’s crucial to rinse and dry it properly to maintain its pristine condition. You want to guarantee every nook and cranny is free from any leftover soap or coffee residue. Here are some effective rinse techniques and drying methods to follow:
- Thoroughly Rinse: Use clean, running water to rinse both the plunger and chamber until all soap is gone.
- Inspect: Check for any lingering coffee grounds or stains; give those areas extra attention.
- Air Dry: Place the AeroPress upside down on a clean dish rack to air dry completely.
- Wipe Down: For a finishing touch, use a soft cloth to gently wipe the exterior.
With these steps, your AeroPress will be ready for your next brewing adventure!
Rinse the Filter Cap
Rinsing the filter cap is a crucial step in keeping your AeroPress in top shape. It’s not just about aesthetics; it’s essential for maximum cap hygiene and ensuring your coffee’s flavor isn’t compromised. After each brew, take a moment to rinse the cap under warm water. This simple act helps remove residual oils and coffee particles, which can build up over time, affecting your brew quality. Proper filter maintenance keeps your AeroPress ready for freedom—freedom to explore rich flavors without the interference of lingering tastes. Each rinse is a small yet significant gesture toward preserving the integrity of your coffee experience. So don’t skip this step; your taste buds will thank you as you savor each cup!
Wash the Components

Cleaning your AeroPress components is essential for maintaining the rich, bold flavors you love. Regular cleaning can enhance your coffee experience, so here are some maintenance tips to keep your AeroPress in top shape:
- Plunger: Rinse it under warm water after each use to remove coffee oils and residue.
- Chamber: Use a soft sponge with mild soap for a thorough clean, avoiding abrasive materials.
- Filter Cap: Clean it gently, guaranteeing no coffee particles remain trapped.
- Stirring Stick: Wipe it down with a damp cloth to keep it fresh.
Aim to clean your components after every use, but a deep clean every few weeks can work wonders. Following these cleaning frequency tips will guarantee your AeroPress continues to brew delicious coffee.
Reassemble and Store Properly
Once you’ve meticulously cleaned your AeroPress, it’s time to reassemble and store it properly to guarantee its longevity and peak performance. Start by placing the plunger back into the chamber, making certain of a snug fit. Store your AeroPress in a cool, dry place to avoid damage.
Here’s a handy guide for proper storage:
| Component | Best Storage Method | Purpose |
|---|---|---|
| Plunger | Insert in chamber | Prevents dust accumulation |
| Filter Cap | Attached to chamber | Keeps components organized |
| Coffee Scoop | Nest inside chamber | Makes certain you have everything |
| Extra Filters | In a sealed bag | Maintains freshness |
| Overall Unit | In a drawer or shelf | Protects from accidental falls |
Frequently Asked Questions
Can I Use a Dishwasher to Clean My Aeropress Components?
You might be tempted to toss your AeroPress components in the dishwasher for convenience, but it’s not always the best choice. While some parts are dishwasher safe, others may not withstand the cleaning efficiency of high heat and strong detergents. To keep your AeroPress in top shape, hand washing is often recommended. Embrace the freedom of a gentle clean, ensuring your coffee maker stays durable and ready for your next perfect brew.
How Often Should I Clean My Aeropress?
You should clean your AeroPress daily to maintain its peak performance and flavor. It’s a simple yet essential part of your coffee ritual. A quick rinse after each use keeps oils and residue at bay. For deeper cleaning, consider maintenance tips like using warm, soapy water or vinegar weekly. This way, you’re ensuring every cup is as vibrant and fresh as your adventurous spirit. Embrace the freedom of a clean brew!
Is It Safe to Use Soap on the Aeropress?
You might wonder if using soap on your AeroPress is safe. While it’s tempting to grab that sudsy bottle, soap residue can linger, affecting your coffee’s flavor. Instead, consider cleaning alternatives like vinegar or baking soda, which can effectively remove oils without leaving a trace. Embrace the freedom of enjoying pure, untainted brews by sticking to these natural cleaners. Your taste buds will thank you for choosing wisely!
What Should I Do if My Aeropress Smells Bad?
If your AeroPress smells bad, it can be a real buzzkill. Bad odor causes often stem from leftover coffee oils or moisture. To tackle this, rinse it thoroughly with hot water, then try soaking it in a mixture of vinegar and water for about 30 minutes. For odor removal tips, you can also use baking soda. Once cleaned, let it dry completely to keep that fresh coffee vibe alive. Enjoy your brewing freedom!
Can I Clean My Aeropress With Vinegar?
You might think vinegar’s harsh, but it’s a surprisingly gentle cleaning ally. Its benefits include cutting through stubborn residue and eliminating odors, making it a great alternative to chemical cleaners. However, if you’re looking for milder options, consider baking soda or lemon juice—they’re just as effective without the vinegar scent. Embrace the freedom of choosing your cleaning method, but remember, vinegar can work wonders for a fresh and clean AeroPress experience!