How to Use a Refractometer to Measure Coffee Strength
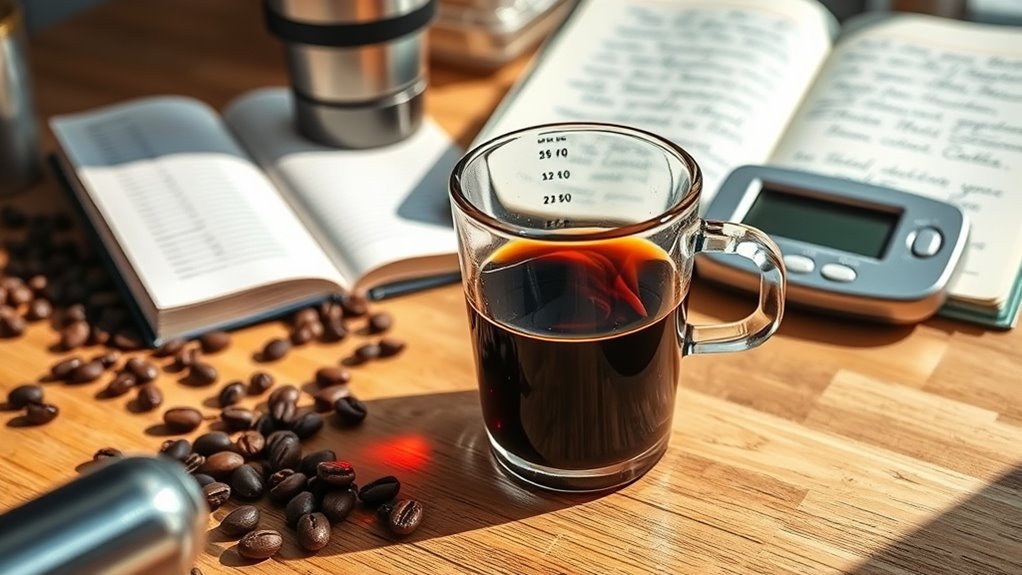
To measure coffee strength with a refractometer, first calibrate it using distilled water for accuracy. Brew your coffee and cool it to room temperature, then place a few drops on the refractometer’s prism. Close the cover, look through the lens, and note the TDS percentage. This number shows your coffee’s dissolved solids, indicating strength. Use this data to adjust grind size, brew time, or coffee-to-water ratio for your perfect cup. You can refine your technique even further with some simple adjustments.
Understanding Total Dissolved Solids (TDS) in Coffee
Before you can accurately measure coffee strength with a refractometer, you need to understand Total Dissolved Solids (TDS). TDS represents the concentration of coffee solubles extracted from the grounds into your brew. It directly influences the flavor extraction and overall taste profile. Different brewing methods yield varying TDS levels, so knowing how your technique affects extraction helps you control coffee strength precisely. By measuring TDS, you see how much coffee material dissolves in water, allowing you to adjust grind size, brew time, or water temperature for your preferred cup. This knowledge empowers you to break free from guesswork and craft coffee that matches your taste exactly, no matter your brewing style or desired intensity.
Choosing the Right Refractometer for Coffee Measurement
Knowing how Total Dissolved Solids (TDS) affect your coffee’s flavor is only part of the equation; selecting the right refractometer lets you measure those solids accurately. You’ll find two main types: digital refractometers and analog refractometers. Digital refractometers offer quick, precise readings with minimal user effort, making them ideal for anyone valuing speed and accuracy. Analog refractometers, while less expensive and straightforward, require more skill to interpret results but provide reliable measurements without batteries. Consider your routine—if you crave freedom from technical hassle, digital is your best bet. If you prefer simplicity and don’t mind manual reading, analog works well. Whichever you choose, make sure it’s calibrated for coffee’s specific TDS range to get meaningful data that guides your brew to perfection.
Preparing Your Coffee Sample for Testing
Before testing, you’ll need to select a representative coffee sample that matches your brew. Make sure to cool the coffee to room temperature to get an accurate refractometer reading. Also, avoid any contaminants by using clean tools and containers throughout the process.
Selecting Coffee Sample
Selecting the right coffee sample is essential for accurate refractometer readings. Begin with coffee type selection that matches your brewing goals—whether it’s espresso, drip, or cold brew—since each varies in concentration. Make certain your sample truly represents the batch you want to measure to avoid skewed results. Next, consider sample size carefully; you need just enough liquid to cover the refractometer’s prism fully, usually around 1-2 milliliters. Too little won’t give a reliable reading, while too much could waste coffee unnecessarily. Use a clean container to avoid contamination, and stir gently to maintain uniformity. By focusing on these factors, you’ll gain precise insights into your coffee’s strength and extraction, giving you the freedom to refine your brew with confidence.
Cooling Coffee Properly
How quickly you cool your coffee sample can greatly impact the accuracy of your refractometer reading. To get precise results, you need effective cooling methods that maintain proper temperature control without altering the coffee’s concentration. Rapid cooling prevents ongoing extraction and flavor changes, ensuring the sample reflects your brew’s true strength.
| Cooling Method | Time to Reach 20°C | Temperature Control Tips |
|---|---|---|
| Ice Bath | 5-7 minutes | Stir gently; avoid dilution |
| Room Temperature | 15-20 minutes | Cover to prevent contamination |
| Refrigeration | 10-15 minutes | Use sealed container; avoid odors |
Choose the method that fits your pace, but always prioritize consistent temperature control for reliable refractometer readings.
Avoiding Contaminants
Once your coffee sample has cooled to the right temperature, the next step is to make sure it’s free from any contaminants that could skew your refractometer reading. Start by thoroughly cleaning your refractometer’s prism and any tools you’ll use for handling the coffee. Effective cleaning methods include using distilled water and a lint-free cloth to avoid residue buildup. Always rinse and dry equipment between samples to prevent cross contamination, which can alter your results and reduce accuracy. Handle your coffee sample with clean utensils and avoid touching it with your hands. By maintaining strict cleanliness and preventing cross contamination, you guarantee your measurements truly reflect the coffee’s strength, giving you the freedom to make precise, confident brewing adjustments.
Calibrating the Refractometer for Accurate Results
A properly calibrated refractometer is essential to confirm the coffee strength readings you get are accurate and reliable. Calibration techniques typically involve using distilled water or a solution of known refractive index to adjust the device. Regular refractometer maintenance, like cleaning the prism and storing it properly, helps maintain its precision over time.
| Step | Purpose | Tips |
|---|---|---|
| Use Distilled Water | Set baseline (0 Brix) | Confirm no air bubbles |
| Apply Calibration Solution | Verify accuracy at known value | Follow manufacturer instructions |
| Adjust Calibration Screw | Fine-tune measurement | Use small, precise turns |
Taking a Reading: Step-by-Step Guide
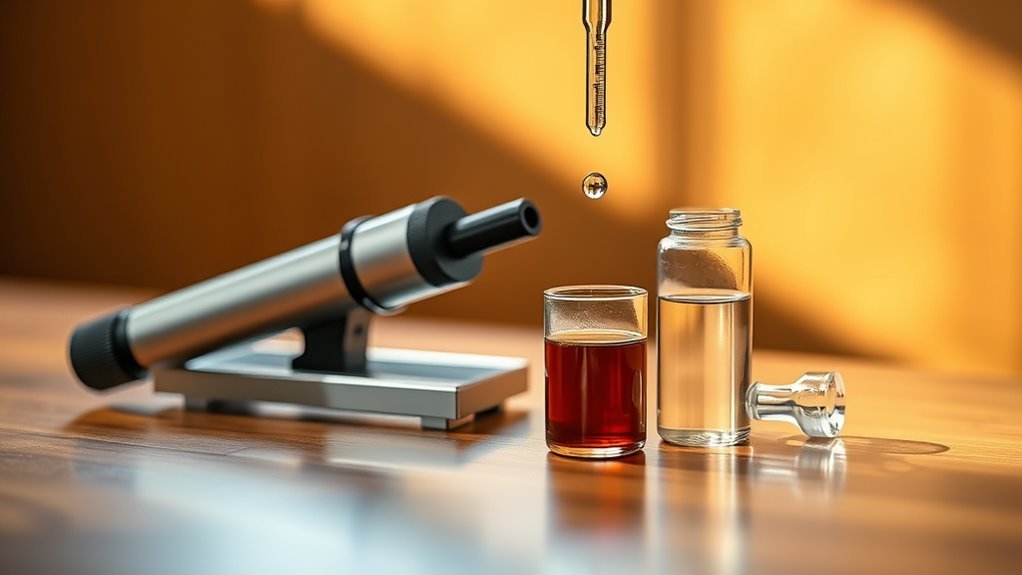
With your refractometer calibrated and ready, you can begin measuring the strength of your coffee. Start by placing a few drops of your brewed coffee onto the prism surface. Verify the sample fully covers the area without air bubbles, as this affects measurement accuracy. Close the cover plate gently to spread the liquid evenly. Hold the refractometer toward a light source and look through the eyepiece, focusing as needed. Use proper reading techniques by aligning the boundary line between light and dark areas with the scale. Take multiple readings for consistency, especially if your coffee varies in concentration. After each measurement, clean the prism surface to avoid residue build-up. Following these steps precisely lets you confidently assess your coffee’s strength, giving you the freedom to adjust your brew exactly how you like it.
Interpreting Your Coffee Strength Results
Once you have your TDS (Total Dissolved Solids) reading, you’ll need to understand what it means for your coffee’s strength. Typically, an ideal coffee strength falls between 1.15% and 1.35% TDS, balancing flavor and extraction. Knowing these ranges helps you adjust your brewing process to achieve the taste you prefer.
Understanding TDS Values
Total Dissolved Solids (TDS) values reveal the concentration of coffee solubles in your brew, giving you a clear measure of its strength. Understanding TDS measurement helps you control the extraction process and tailor your coffee to your liking. The TDS impact isn’t just about strength; it influences flavor balance and mouthfeel, letting you craft a cup that suits your freedom to experiment.
When you interpret TDS values, keep these points in mind:
- Higher TDS means more dissolved solids, resulting in a stronger, bolder taste.
- Lower TDS indicates a lighter brew with subtler flavors.
- Consistent TDS readings guarantee repeatability and precision in your brewing.
Mastering TDS values empowers you to optimize your coffee’s profile confidently.
Optimal Strength Ranges
Although TDS values give you a clear measure of coffee strength, knowing the ideal strength ranges is essential for interpreting those results effectively. Generally, the best brewing strength for coffee falls between 1.15% and 1.35% TDS. Staying within this range guarantees a balanced extraction, highlighting flavors without bitterness or weakness. However, your personal strength preferences matter most. If you like a bolder cup, aim toward the higher end of this spectrum; if you prefer something lighter, lean toward the lower end. Use your refractometer readings as a guide, but feel free to adjust based on taste. Understanding these best strength ranges empowers you to fine-tune your brew independently, guaranteeing each cup matches your unique freedom to enjoy coffee exactly how you want it.
Adjusting Your Brew Based on Refractometer Data
When you analyze your coffee with a refractometer, the readings give you clear insights into how strong or weak your brew is, allowing you to make targeted adjustments. By understanding these measurements, you gain control over brewing adjustments to perfect your flavor profiling. To refine your coffee, consider these practical steps:
Refractometer readings reveal your brew’s strength, guiding precise tweaks to perfect flavor and consistency.
- Adjust grind size: Finer grounds increase extraction, raising strength; coarser grounds do the opposite.
- Modify brew time: Longer brew times extract more solubles, enhancing strength and complexity.
- Change coffee-to-water ratio: Increasing coffee dose relative to water boosts strength without affecting extraction quality.
These tweaks help you dial in your ideal cup, balancing strength and taste to match your preferences. Using refractometer data empowers you to brew with freedom and consistency.
Tips for Consistent and Reliable Measurements
To get the most accurate readings from your refractometer, you’ll want to confirm your equipment and technique are consistent every time. Start with reliable calibration using distilled water at the recommended temperature to set a true baseline. Always clean the prism carefully before each use to avoid residue altering readings. Use the same coffee sample temperature and confirm it’s well-mixed to maintain measurement consistency. Apply the sample evenly on the prism and close the cover to eliminate air bubbles that could distort results. Record your readings promptly to reduce errors from evaporation or temperature shifts. By following these precise steps, you’ll gain repeatable, trustworthy data, empowering you to fine-tune your brew with confidence and enjoy the freedom to experiment while maintaining control over coffee strength.
Frequently Asked Questions
Can a Refractometer Measure Espresso Concentration Accurately?
Yes, a refractometer can measure espresso concentration with great measurement precision, giving you insight into your espresso extraction. It helps you quantify the dissolved solids, so you know exactly how strong or weak your shot is. This precision lets you fine-tune your brewing process, giving you the freedom to experiment and achieve the perfect balance in your espresso. Just make sure you calibrate it properly for accurate readings every time.
How Does Water Temperature Affect Refractometer Readings?
You might think water temperature drastically skews refractometer readings, but it’s more nuanced. Temperature affects water viscosity, which can alter how light refracts through the sample. If the temperature isn’t stable, your readings could vary slightly. To get reliable, repeatable results, you’ll want to maintain temperature stability or use a refractometer with automatic temperature compensation. This way, you’re free from guesswork and can trust your measurements.
Is It Necessary to Clean the Refractometer After Each Use?
Yes, you should clean your refractometer after each use to keep readings accurate and extend its lifespan. Use gentle cleaning methods like a soft, damp cloth or lens tissue with distilled water—avoid harsh chemicals that can damage the prism. Regular maintenance tips include drying it thoroughly and storing it in a protective case. With this simple routine, you’ll enjoy consistent, reliable results without fuss or restrictions on your coffee adventures.
Can Refractometers Be Used for Cold Brew Coffee Measurements?
You might think cold brew’s thicker texture could mess with measurement accuracy, but refractometers can handle it well. Just make sure your sample is well-mixed and at room temperature to get precise readings. Since cold brew has different solute concentrations, calibrate your refractometer accordingly. This way, you maintain freedom to experiment with strength while relying on accurate, consistent data for every batch you craft.
What Is the Lifespan of a Typical Coffee Refractometer?
Your coffee refractometer can last several years if you maintain it properly. Calibration techniques, like regularly using distilled water or standard solutions, guarantee accuracy and extend its lifespan. Usage frequency plays a role too; if you measure daily, you might need more frequent calibrations and care. Treat it with care, avoid exposure to extreme temperatures, and store it properly. That way, you’ll enjoy precise readings and freedom to experiment with coffee strength for a long time.