How to Troubleshoot Common Brewing Problems
To troubleshoot common brewing problems, start by identifying off-flavors through sensory evaluation and checking ingredient quality for contamination or improper storage. Keep fermentation within ideal temperature ranges to prevent yeast stress or stalled activity. Regularly inspect and maintain equipment to avoid mechanical or electrical faults. Sanitize thoroughly to eliminate microbes and manage carbonation by ensuring proper priming and vessel sealing. Mastering these fundamentals helps you maintain consistent brew quality; understanding each step deeper reveals finer control techniques.
Identifying Off-Flavors and Their Causes
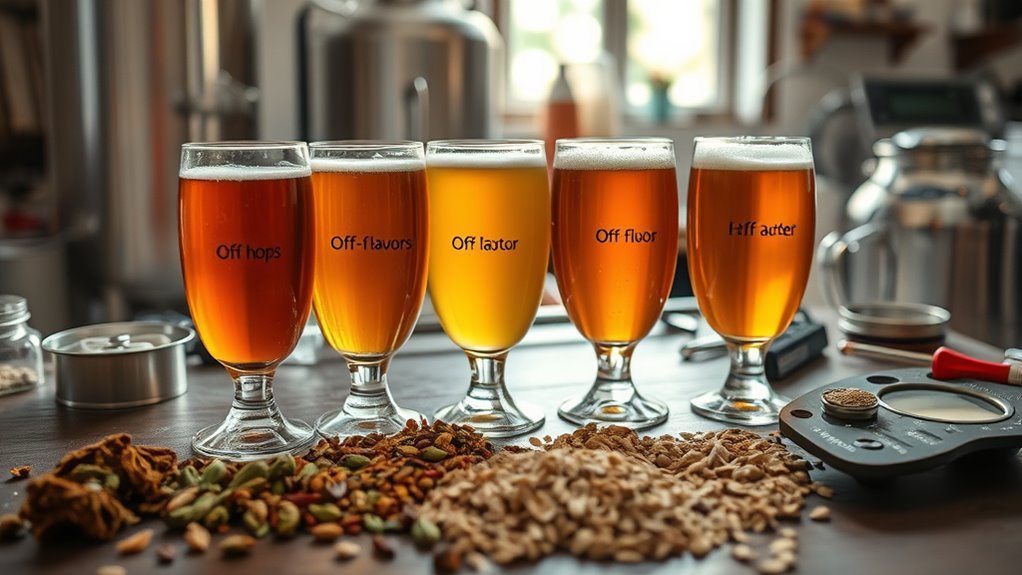
Although off-flavors can be subtle, identifying them accurately is essential to diagnosing brewing issues. When you conduct off flavors analysis, focus on isolating specific sensory deviations within the flavor profile. Note if the beer exhibits sourness, bitterness, metallic notes, or unwanted esters like solvent or phenolic compounds. These deviations often indicate contamination, improper fermentation temperatures, or ingredient quality problems. Pay close attention to aroma and taste, as off-flavors may arise from yeast stress or oxidation. By systematically comparing the flavor profile against expected standards, you can pinpoint the root cause with precision. Mastering this analytical approach empowers you to troubleshoot effectively, maintaining control and freedom over your brewing process without guesswork or unnecessary trial-and-error.
Managing Fermentation Issues
To manage fermentation issues effectively, you’ll need to maintain strict temperature control to optimize yeast activity and prevent off-flavors. Watch closely for signs of contamination, such as unexpected turbidity or unusual aromas, which can compromise your batch. Additionally, adjusting fermentation duration based on yeast performance and gravity readings guarantees complete fermentation without stressing the yeast.
Temperature Control Techniques
When you can’t maintain consistent fermentation temperatures, your yeast activity can become erratic, leading to off-flavors or stalled fermentation. Managing temperature fluctuations is critical for clean, predictable results. To gain precise control, consider these cooling methods:
- Use a dedicated fermentation chamber with temperature regulation capabilities.
- Employ a temperature-controlled water bath to stabilize ambient heat around the fermenter.
- Apply insulation blankets combined with a small fan to evenly distribute temperature.
- Integrate a temperature controller with a cooling device like a mini-fridge or swamp cooler for automated adjustments.
Each technique minimizes thermal swings, ensuring yeast performs at peak efficiency. By mastering temperature control, you break free from guesswork, releasing consistent fermentations and the freedom to craft beers exactly as you envision.
Identifying Contamination Signs
Maintaining proper temperature control sets the stage for a healthy fermentation, but even with perfect conditions, contamination can still disrupt your brew. Recognizing contamination sources early is essential to protect your batch. Visual indicators often reveal issues before off-flavors develop, allowing timely intervention.
| Contamination Source | Visual Indicators |
|---|---|
| Wild yeast | Pellicle formation on surface |
| Bacteria | Cloudiness, sour odor |
| Mold | Colored spots, fuzzy growth |
| Improper sanitation | Unexpected film, off-smell |
Pay close attention to these signs during fermentation. Wild yeast creates a thin pellicle, while bacterial contamination often causes cloudiness and sour aromas. Mold appears as fuzzy, colored spots, and poor sanitation may lead to films or unusual odors. Identifying these signs promptly guarantees you maintain the freedom to craft exceptional brews without unwelcome surprises.
Adjusting Fermentation Duration
Although proper temperature and sanitation are critical, you’ll still need to adjust fermentation duration based on your specific brew’s progress. Fermentation timing isn’t rigid; it hinges on monitoring yeast activity and gravity readings. Don’t rely solely on preset schedules—trust data from your fermenter. Key signs to guide adjustments include:
- Stable specific gravity over consecutive days
- Visible yeast sediment settling patterns
- Aroma development indicating fermentation completeness
- Absence of off-flavors or unexpected fermentation noises
Addressing Equipment Malfunctions
When your brewing equipment malfunctions, start by systematically diagnosing the machine to identify faults like sensor failures or mechanical jams. Pay close attention to temperature control systems, as even minor deviations can impact your brew’s consistency. Once identified, apply targeted fixes such as recalibrating sensors or replacing faulty components to restore peak performance.
Diagnosing Machine Failures
Even if your brewing setup seems straightforward, diagnosing machine failures demands a systematic approach to isolate the exact cause. Effective machine diagnostics and failure analysis begin by narrowing down where the malfunction originates within your equipment. You’ll want to:
- Inspect electrical connections for loose or corroded contacts disrupting power flow
- Evaluate sensors and control modules for faults in signal transmission
- Check mechanical parts like pumps and valves for wear or blockage
- Review error codes or logs your machine provides to pinpoint issues
Fixing Temperature Issues
After pinpointing machine failures, the next step is addressing temperature-related malfunctions, as accurate thermal control directly impacts brewing quality. You’ll want to check for temperature fluctuations caused by faulty thermostats or sensors, which often lead to inconsistent brewing results. Inspect heating elements for wear or damage that compromises heat retention, reducing your system’s ability to maintain stable temperatures. Calibrate or replace defective components to restore precision. Additionally, verify insulation around heating chambers is intact to prevent heat loss. If your equipment struggles with maintaining target temperatures, check the control unit’s software settings for accuracy. By systematically identifying and correcting these issues, you’ll regain control over thermal consistency, empowering you to produce brews that meet your exact standards without compromise.
Ensuring Proper Ingredient Quality
Because the quality of your ingredients directly impacts the final brew, it’s critical to verify their freshness and purity before use. Start by prioritizing ingredient sourcing from trusted suppliers who guarantee batch consistency and traceability. Conduct a thorough quality assessment on raw materials, checking for moisture content, contamination, and aroma integrity. Visual and olfactory inspections reveal subtle defects that lab tests might miss. To guarantee peak ingredient quality:
- Inspect malt for uniform color and absence of foreign particles
- Smell hops for vibrant, characteristic aromas without mustiness
- Verify yeast viability and purity through microscopic examination
- Store ingredients in controlled environments to prevent degradation
Controlling Temperature for Optimal Results
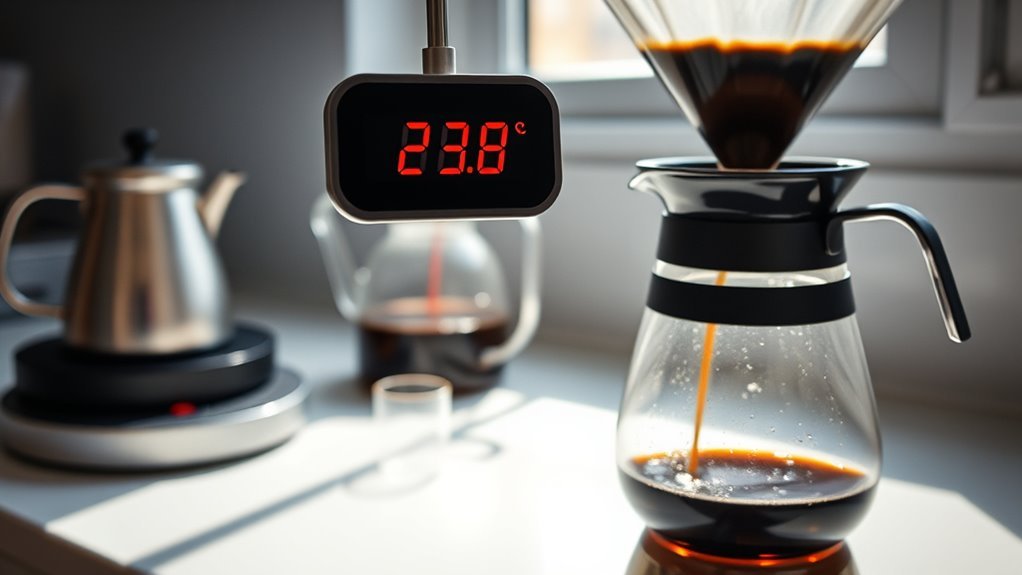
Once you’ve secured high-quality ingredients, maintaining precise temperature control throughout the brewing process becomes your next priority. Temperature stability directly affects enzymatic activity and yeast fermentation, so minimizing temperature fluctuations is essential. You’ll want to monitor and adjust temperatures carefully to avoid off-flavors or stalled fermentation.
| Brewing Stage | Ideal Temperature (°F) | Impact of Fluctuations |
|---|---|---|
| Mashing | 148–158 | Inconsistent starch conversion |
| Boiling | 212 | Insufficient hop isomerization |
| Cooling | Rapid to 65–75 | Risk of contamination, delayed fermentation |
| Fermentation | 65–72 | Yeast stress, off-flavors |
| Conditioning | 35–50 | Flavor maturation, clarity |
Preventing Contamination and Infection
Although controlling temperature is essential, preventing contamination and infection is equally important to guarantee a successful brew. You need to master sanitization techniques to inhibit unwanted microbial growth effectively. Start by thoroughly cleaning all equipment before and after use. Employ a reliable sanitizer that targets bacteria and wild yeast without leaving residues. Always work in a clean environment to minimize airborne contaminants. Remember, microbial prevention hinges on discipline and consistency.
Master sanitization to prevent contamination and ensure a successful brew through discipline and clean practices.
- Use no-rinse sanitizers for efficiency and safety
- Avoid cross-contamination by dedicating tools to specific tasks
- Sanitize hands and surfaces frequently during brewing
- Store ingredients and equipment in airtight, clean containers
Troubleshooting Carbonation Problems
Why isn’t your brew carbonating properly? First, assess your carbonation methods—whether natural priming or forced CO2, each demands precise control. In natural carbonation, insufficient priming sugar or incomplete fermentation can leave carbonation levels low. Also, check if fermentation fully finished; residual yeast activity is essential. For forced carbonation, verify CO2 pressure and temperature; low pressure or cold temps slow CO2 absorption. Examine your sealing system—any leaks reduce carbonation by letting gas escape. Additionally, confirm your vessel’s integrity; micro-leaks can be deceptive. Finally, improper chilling before serving affects carbonation perception. By systematically evaluating these factors, you regain control over carbonation levels, freeing you from guesswork and guaranteeing your brew delivers the expected effervescence and crispness that defines quality.
Frequently Asked Questions
How Do I Choose the Right Yeast Strain for My Brew?
When choosing the right yeast strain, you’ll want to focus on yeast characteristics like attenuation, flocculation, and flavor profile. Consider your desired beer style and match it with a strain that thrives at your fermentation temperature to guarantee peak performance. Don’t forget to factor in how temperature affects yeast activity and byproducts. This way, you maintain control and freedom in your brewing process while achieving consistent, quality results.
What Are the Best Cleaning Practices Before Brewing?
Before brewing, you’ll want to focus on sanitization techniques to avoid contamination. Start by thoroughly cleaning your equipment with a non-abrasive cleaner, then use a no-rinse sanitizer to kill any microbes. Pay close attention to hard-to-reach areas like valves and seals. Regular equipment maintenance, including inspecting gaskets and fittings, guarantees everything functions smoothly. These steps give you the freedom to brew confidently, knowing your gear is clean and ready for peak fermentation.
How Can I Improve the Clarity of My Final Beer?
Want crystal-clear beer that looks as good as it tastes? Start by using fining agents like gelatin or isinglass, which help particles clump and settle out faster. Combine this with cold crashing—lowering the temperature to near-freezing for a few days—to encourage suspended solids to drop out. These precise steps enhance clarity without compromising flavor, giving you a polished brew that’s as free of haze as it is full of character.
What Is the Ideal Water Profile for Different Beer Styles?
When you brew, tailoring your water profile is key. Soft water with low hardness suits delicate beers like Pilsners, enhancing subtle hops and malt. For IPAs or stouts, higher water hardness and specific mineral balance—like calcium, sulfate, and chloride—bring out bitterness or maltiness. Adjust minerals precisely to match style demands, freeing your brew to express its character fully without unwanted flavors or haze. Knowing your water’s makeup empowers your creativity.
How Do I Scale Recipes for Larger Batch Sizes?
Scaling recipes is like adjusting the sails on your brewing voyage—you need precision to maintain batch consistency. Start by applying recipe conversion formulas: multiply each ingredient by the ratio of your new batch size to the original. Be meticulous with water volumes, hop additions, and yeast pitching rates; small miscalculations can throw off flavor balance. Keeping detailed notes guarantees you replicate success while expanding your brewing freedom confidently.