How to Steam Milk for Lattes and Cappuccinos
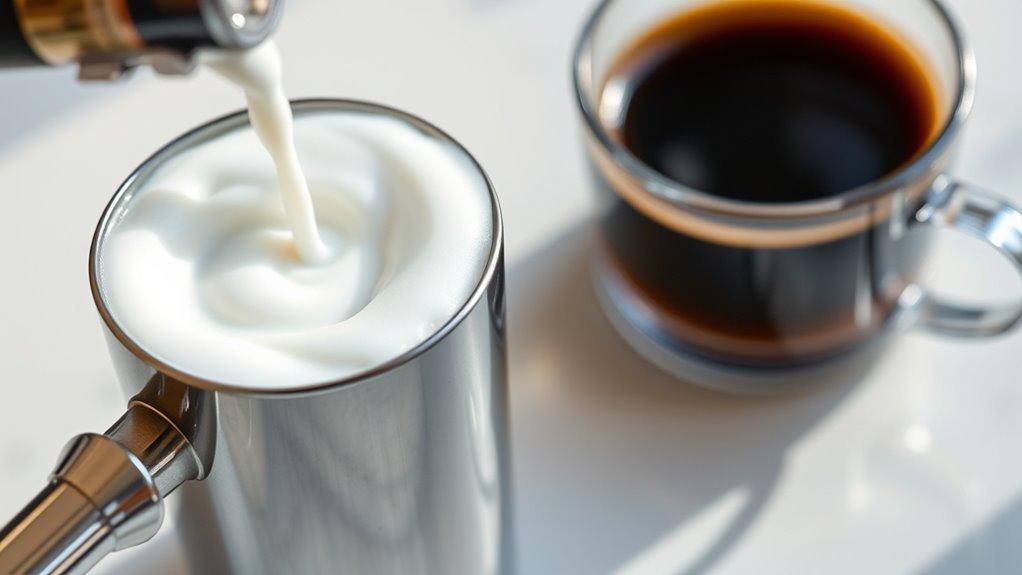
To steam milk for lattes and cappuccinos, start with fresh, cold milk—whole or a barista blend works best. Use a clean pitcher and purge the steam wand before dipping it just below the milk’s surface. Introduce air gently to create fine microfoam, then submerge the wand deeper to heat evenly to about 150°F, avoiding scorched milk. A smooth whirlpool motion helps texture. Mastering these basics sets you up to craft creamy, velvety drinks, while learning subtle techniques will elevate your results even further.
Understanding the Importance of Steaming Milk

Steaming milk isn’t just about heating it—it’s about transforming its texture and flavor to elevate your latte or cappuccino. When you master steaming techniques, you gain access to the ability to create a creamy, velvety milk texture that blends seamlessly with espresso. This texture not only enhances the taste but also influences the overall mouthfeel, making your drink more enjoyable. By controlling factors like temperature and steam pressure, you’ll develop microfoam—tiny, uniform bubbles that give milk its silky finish. Understanding the importance of steaming milk means knowing how to balance these elements consistently. Once you grasp these techniques, you gain freedom to craft barista-quality drinks anywhere, impressing yourself and others with every cup you make.
Choosing the Right Milk for Steaming
Choosing the right milk is one of the most essential steps to achieving that perfect texture and flavor in your latte or cappuccino. Different milk types and their fat content can dramatically influence your steaming results. Here’s what to take into account:
Selecting the right milk is key to perfecting texture and flavor in your latte or cappuccino.
- Whole milk offers a creamy texture and rich flavor due to higher fat content, making it ideal for smooth microfoam.
- 2% milk balances creaminess and ease of steaming, giving you a lighter but still velvety finish.
- Skim milk creates more foam but less creaminess, perfect if you want a frothy, airy cup.
- Plant-based milks like oat or almond vary widely; choose barista blends for better steaming performance and texture.
Knowing your milk’s fat content and type helps you craft the freedom to enjoy coffee exactly how you like it.
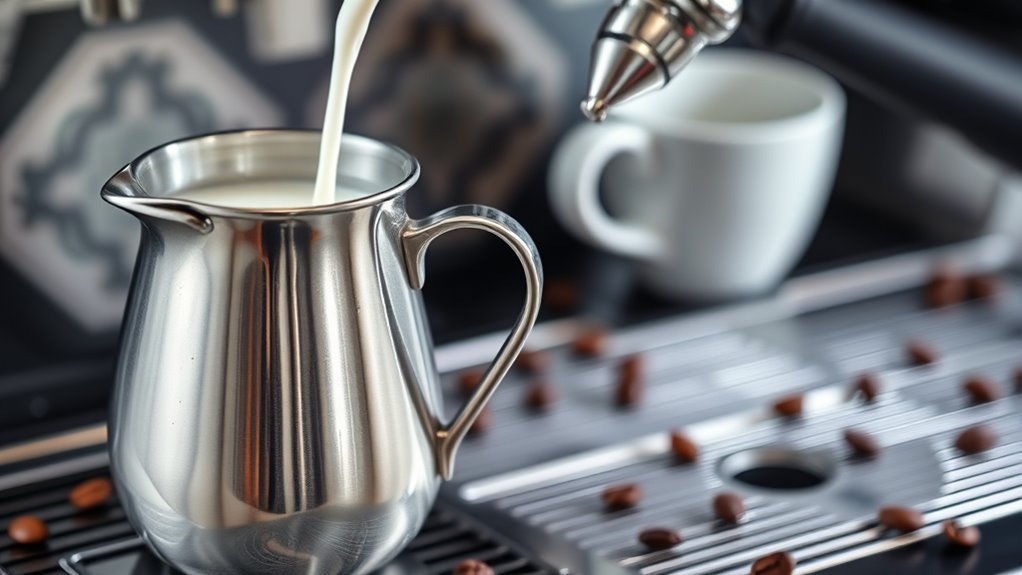
Equipment Needed for Steaming Milk
To steam milk like a pro, you’ll need the right tools at your fingertips. A quality steaming pitcher is essential for controlling texture, while a reliable thermometer guarantees you hit the perfect temperature every time. Getting these essentials right sets the foundation for creamy, well-textured milk in your lattes and cappuccinos.
Essential Steaming Tools
Mastering the art of milk steaming starts with having the right tools at your disposal. To achieve perfect steaming techniques and smooth milk frothing, you need a few essential items that empower your creativity and precision.
- Steam Wand – The key device for injecting steam and creating microfoam effortlessly.
- Thermometer – Helps you monitor milk temperature, fundamental for consistent texture.
- Milk Pitcher – While detailed choice comes later, a sturdy pitcher is essential for swirling and frothing.
- Cleaning Brush – Keeps your steam wand free from milk residue, ensuring hygiene and peak performance.
With these tools, you’re set to explore your freedom in crafting luscious lattes and rich cappuccinos, making every cup a personal masterpiece.
Choosing the Right Pitcher
One essential piece of equipment you’ll want to focus on is the milk pitcher, as it directly influences your steaming control and the quality of your foam. When choosing your pitcher, consider milk pitcher materials carefully—stainless steel is the gold standard for its durability and heat conduction, giving you precise temperature control. Silicone and glass options exist but often lack the responsiveness needed for expert steaming. Pitcher size selection also plays a vital role; a 12-ounce pitcher is ideal for single servings, while a 20-ounce one suits larger batches or multiple drinks. Picking the right size guarantees you have enough room for milk expansion without overflow. By selecting the right material and size, you’ll gain the freedom to create smooth, velvety microfoam with confidence every time.
Importance of Thermometers
Although steaming milk by feel might seem like a skill you can develop over time, using a reliable thermometer guarantees you hit the perfect temperature every time. Precise milk temperature is vital to release creamy texture and sweetness without scalding. A thermometer helps you maintain consistency and control, fundamental for mastering your craft. To make the most of your thermometer:
- Confirm proper thermometer calibration regularly for accurate readings.
- Aim for a milk temperature between 140°F and 155°F to balance texture and flavor.
- Insert the thermometer just below the surface, avoiding steam wand contact.
- Use the thermometer as a guide to stop steaming at the right moment, preventing overheating.
With a calibrated thermometer, you gain freedom to create café-quality drinks confidently every time.
Preparing Your Milk Pitcher and Steam Wand
Before you start steaming, make certain your milk pitcher and steam wand are spotless and dry. Proper milk pitcher preparation guarantees that no residue affects the texture or taste of your milk. Rinse it thoroughly with warm water and wipe it dry to prevent water dilution. Simultaneously, steam wand maintenance is vital; always purge the wand briefly before and after use to clear any milk buildup inside. Wipe the wand’s exterior with a clean, damp cloth immediately after steaming to avoid hardened milk residue, which can impair performance and hygiene. Taking these simple but essential steps lets you maintain control over your steaming process and assures a smooth, consistent froth every time. This preparation is your first step toward mastering the art of steaming milk freely and confidently.
Step-by-Step Guide to Steaming Milk
To steam milk perfectly, you’ll follow a few essential steps that balance technique and timing. Mastering this process reveals smooth milk frothing, setting the stage for beautiful latte art.
- Submerge the steam wand just below the milk surface, positioning for gentle air introduction.
- Turn on the steam and listen for a subtle hissing—this means you’re incorporating air properly.
- Once the milk expands slightly, lower the pitcher to fully immerse the wand, heating milk evenly.
- Stop steaming around 150°F (65°C), ensuring milk is warm but not scalded.
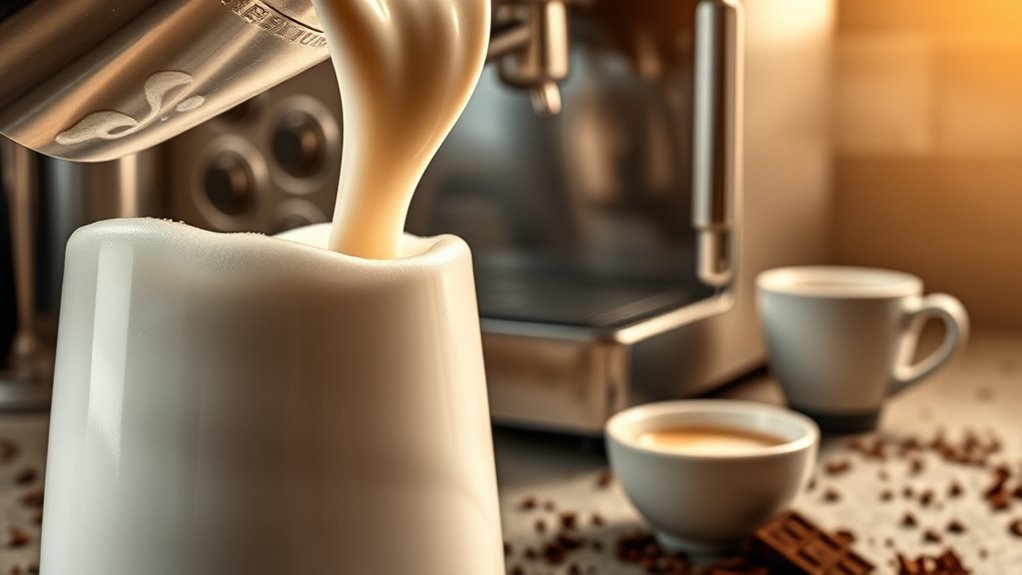
Techniques for Creating Microfoam
To create the perfect microfoam, you’ll need to focus on achieving a silky texture by introducing just the right amount of air into the milk. Controlling the steaming temperature is essential—aim for around 140°F to 150°F to balance sweetness and avoid scalding. Mastering these techniques will elevate your lattes and cappuccinos to café-quality standards.
Achieving Silky Texture
Silky texture is the hallmark of expertly steamed milk, achieved by incorporating tiny, uniform bubbles known as microfoam. To create that luscious silky foam and perfect milk texture, focus on these key techniques:
- Position the steam wand just below the surface to gently introduce air without large bubbles.
- Keep the wand at a slight angle to create a whirlpool effect, evenly distributing air.
- Listen for a subtle hissing sound, signaling the right amount of air incorporation.
- Finish with smooth, velvety milk, free of visible bubbles, ready to blend seamlessly into your espresso.
Mastering these steps gives you the freedom to craft coffee with milk texture that’s creamy, rich, and inviting—exactly what every latte or cappuccino deserves.
Optimal Steaming Temperature
Although achieving the perfect microfoam requires careful technique, controlling the steaming temperature is equally essential. To master ideal steaming techniques, aim to heat your milk between 55°C and 65°C (130°F to 150°F). This range balances sweetness and texture without scalding, which kills proteins needed for smooth microfoam. Be mindful of milk temperature variations; overheating causes large bubbles and a burnt taste, while underheating yields thin foam. Use a thermometer or develop a tactile sense by feeling the pitcher’s warmth. Remember, the goal is a velvety, glossy foam that blends seamlessly with espresso. By mastering these temperature nuances, you’ll gain the freedom to create café-quality lattes and cappuccinos at home, elevating your coffee experience every time.
Common Mistakes to Avoid When Steaming Milk
Mistakes like overheating the milk or creating large bubbles can quickly ruin the texture and flavor of your latte or cappuccino. To master steaming, you need to recognize common steaming errors and focus on avoiding overheating.
- Heating milk beyond 150°F — this breaks down proteins, leading to a burnt taste.
- Introducing too much air too quickly — causes large bubbles instead of velvety microfoam.
- Not positioning the steam wand correctly — prevents proper milk circulation and texture.
- Using milk that’s too cold or old — hampers frothing ability and flavor.
Tips for Perfecting Your Latte and Cappuccino Foam
Once you’ve avoided the common pitfalls of overheating and improper technique, you can focus on refining the texture of your milk foam. Start by choosing fresh milk or quality milk alternatives; oat and almond milk, for example, create distinct flavor profiles that complement espresso well. To achieve velvety microfoam, position your steam wand just below the surface, allowing air to incorporate gently without large bubbles. Keep the pitcher tilted for even whirlpool action, which breaks down bubbles and smooths the foam. Pay attention to temperature—stop steaming around 140°F to preserve sweetness and avoid bitterness. Finally, practice pouring to merge foam and espresso seamlessly, enhancing both texture and taste. Mastering these steps gives you the freedom to craft lattes and cappuccinos tailored perfectly to your palate.
Frequently Asked Questions
Can I Steam Milk Using a Microwave Instead of a Steam Wand?
You can absolutely use microwave methods to heat milk, but it won’t replicate the creamy texture a steam wand creates. When microwaving, heat your milk until it’s about 150°F, but be careful—it can easily overheat or scald. To mimic froth, whisk vigorously or use a handheld frother after warming. While it won’t be exactly the same, these microwave methods give you freedom to enjoy warm, frothy milk without specialized equipment.
How Long Does Steamed Milk Stay Fresh After Steaming?
Steamed milk stays fresh for about 2 hours if kept at room temperature, but for best results, you should use it immediately. If you want to extend its life, place it in the fridge within an hour. For ideal steamed milk storage, use a clean, airtight container and avoid reheating multiple times. Milk freshness tips include smelling and tasting before use—if it’s sour or off, it’s best to discard it for your safety and flavor freedom.
Is It Possible to Steam Non-Dairy Milk Alternatives Like Almond or Oat Milk?
Did you know 65% of coffee shops now offer non dairy options? You can absolutely steam almond or oat milk, but mastering the right steaming techniques is key. These alternatives behave differently—oat milk froths creamier, while almond milk can separate if overheated. To get that perfect texture, keep your steam wand just below the surface and avoid overheating past 150°F. With practice, you’ll enjoy creamy, dreamy dairy-free drinks freedom.
What Is the Difference Between Steamed Milk and Frothed Milk?
Steamed milk and frothed milk aren’t the same, and knowing the difference can level up your coffee game. Steamed milk is heated with fine, velvety microfoam, perfect for lattes—it’s smooth and creamy. Frothed milk, on the other hand, has more airy bubbles, creating a thicker, foamier texture ideal for cappuccinos. So, if you want silky softness, go steamed; if you crave light, fluffy foam, choose frothed. Simple, right?
Can I Use Steamed Milk for Drinks Other Than Lattes and Cappuccinos?
Absolutely, you can use steamed milk in a variety of drink recipes beyond lattes and cappuccinos. It adds a creamy texture and subtle sweetness to hot chocolates, chai lattes, and even some coffee cocktails. Steamed milk’s smooth consistency makes it versatile, so feel free to experiment and tailor your drinks to your taste. Don’t hesitate to get creative—steamed milk can elevate many beverages, giving you the freedom to enjoy coffee your way.