How to Steam Milk Alternatives for Perfect Latte Art
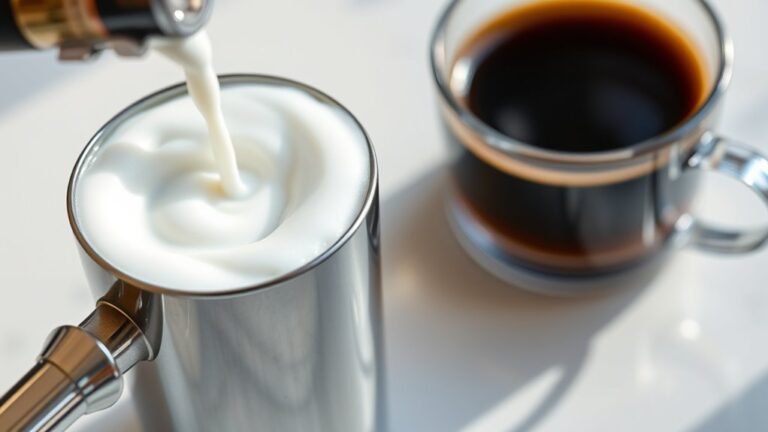
To steam milk alternatives for perfect latte art, start by choosing a suitable option like oat or soy milk designed for frothing. Position the steam wand just below the surface to introduce air, then submerge it for uniform heating. Look for hissing sounds to gauge the air incorporation. Practice is essential for creating silky microfoam, and remember that each milk behaves differently. For specific techniques tailored to each type, there’s much more to explore.
Understanding Milk Alternatives: A Quick Overview
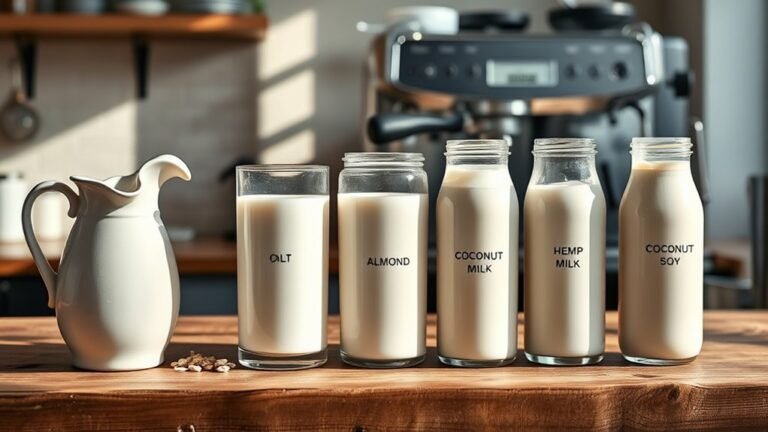
When you’re exploring the world of latte art, understanding milk alternatives is essential, as they can greatly affect both texture and flavor. Plant-based options like almond, soy, oat, and coconut milk each bring unique flavor differences to your beverage. Almond milk offers a nutty taste, while oat milk provides a creamy, slightly sweet profile.
From a nutritional standpoint, these alternatives often contain fewer calories and can be fortified with vitamins and minerals, making them appealing for health-conscious baristas. Soy milk, for instance, boasts a high protein content, contributing to a satisfying experience. By choosing the right milk alternative, you’re not just creating beautiful latte art; you’re also elevating the overall drinking experience with delightful flavors and health benefits.
The Science of Steaming: What Happens to Milk
When you steam milk alternatives, you’re not just heating them up; you’re initiating a series of changes in their composition. The temperature affects the proteins and fats, impacting both texture and flavor, which is essential for creating that perfect microfoam. Understanding these transformations can elevate your latte art to a whole new level.
Milk Composition Changes
Steaming milk alternatives involves intricate changes in composition that are essential for achieving the perfect texture and flavor in your latte art. When you heat these alternatives, you’re altering their milk chemistry, affecting proteins, fats, and sugars. In non-dairy options, like oat or almond milk, the protein content varies greatly, which can influence foam stability. You’ll notice that the proteins denature, allowing them to trap air more effectively, creating that luscious microfoam ideal for art. However, some milk alternatives may not emulsify as well, leading to less stable foam. Understanding these changes can empower you to choose the right milk for your desired outcome, ensuring your latte art not only looks stunning but also tastes divine.
Temperature and Texture
Achieving the right temperature and texture during the steaming process is essential for creating latte art that not only looks appealing but also delivers an exceptional taste experience. Mastering your steaming techniques can elevate your coffee game. Here’s what you need to contemplate:
- Temperature: Aim for 150°F to 155°F; too hot can scorch the milk, ruining flavor.
- Texture: Look for microfoam; it should feel creamy and velvety on your palate.
- Aeration: Incorporate air gradually; this creates that luscious foam essential for art.
Understanding these elements will empower you to refine your milk frothing skills, allowing for both visual and sensory satisfaction in every cup. Embrace the freedom in your craft, and let your creativity flow!
Choosing the Right Milk Alternative for Latte Art

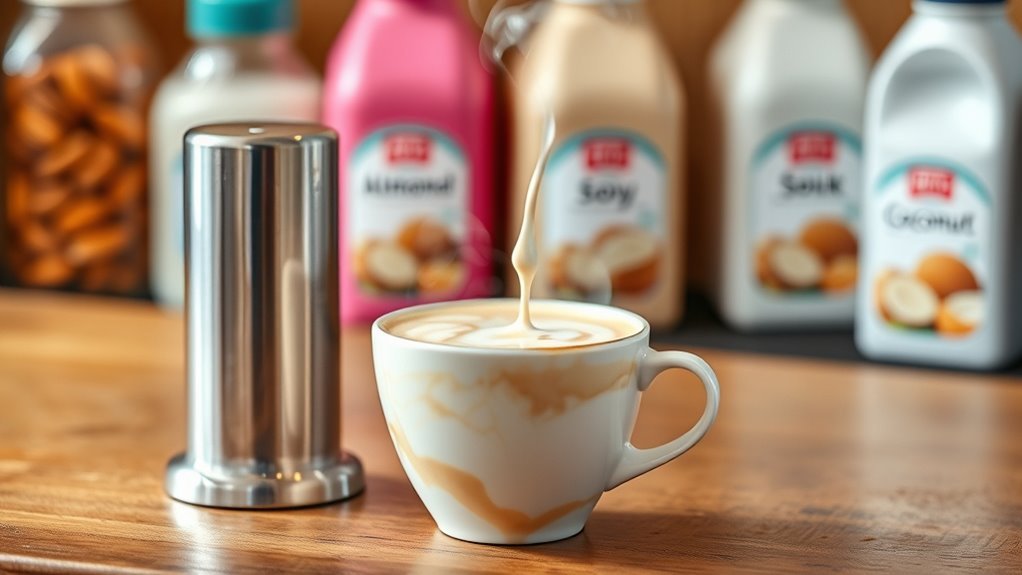
Although many people enjoy traditional dairy milk for its frothing capabilities, choosing the right milk alternative for latte art can elevate your coffee experience while accommodating dietary preferences. Coconut milk, for example, offers a creamy texture and a natural sweetness, making it a popular choice. However, its high fat content can lead to less stable froth, so you’ll want to experiment with brands that have added stabilizers. On the other hand, cashew milk provides a rich, velvety consistency that’s easier to froth, allowing you to create beautiful latte art with less effort. Both options can be delicious, but mastering the nuances of each will help you achieve that perfect pour, showcasing your creativity and skill while enjoying your dairy-free delight.
Essential Tools for Steaming Milk Alternatives
To achieve perfect steamed milk alternatives for latte art, you’ll need the right tools. A steam wand is essential for incorporating air and heat, while temperature control techniques guarantee you won’t scald your milk. Understanding these components will elevate your steaming process and enhance your latte art.
Steam Wands Overview
When you’re ready to steam milk alternatives for your latte art, a good steam wand becomes an essential tool in your arsenal. Understanding the different steam wand types and how they affect steam pressure can elevate your coffee game. Here are three key points to reflect on:
- Traditional Wands: Offer powerful steam pressure, perfect for achieving microfoam with oat or almond milk.
- Auto-Frothers: Great for beginners, they simplify the process but limit your control over texture and temperature.
- Pannarello Wands: Ideal for those who want a balance; they provide decent steam pressure while allowing some manual control.
Choosing the right steam wand can enhance your creativity, giving you the freedom to express your latte artistry like never before.
Temperature Control Techniques
Mastering temperature control is essential for successfully steaming milk alternatives, as it directly impacts the quality of your foam and overall drink. To achieve the perfect temperature, invest in a reliable thermometer for precise temperature monitoring. Aim for a steaming range of 140°F to 160°F; anything hotter can scorch your milk, ruining the texture. Implement steaming strategies like submerging the steam wand just below the surface to create microfoam while maintaining that ideal temperature. Use a timer if needed, to keep track of your steaming duration, ensuring consistency. Remember, your goal is to develop silky, velvety foam that holds its shape. With these techniques, you’ll elevate your latte art game and enjoy delicious, textured beverages every time.
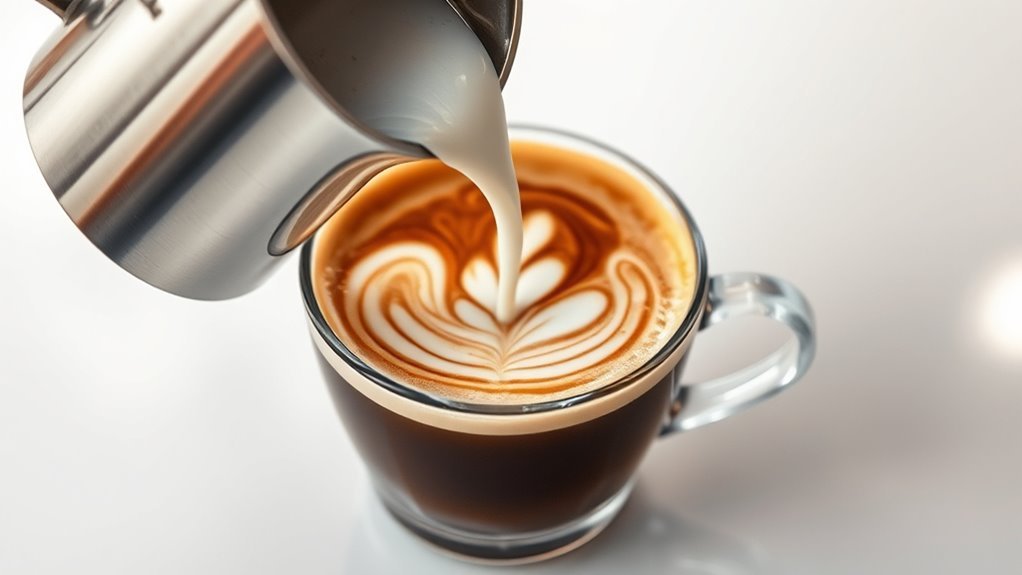
Perfecting Your Steaming Technique
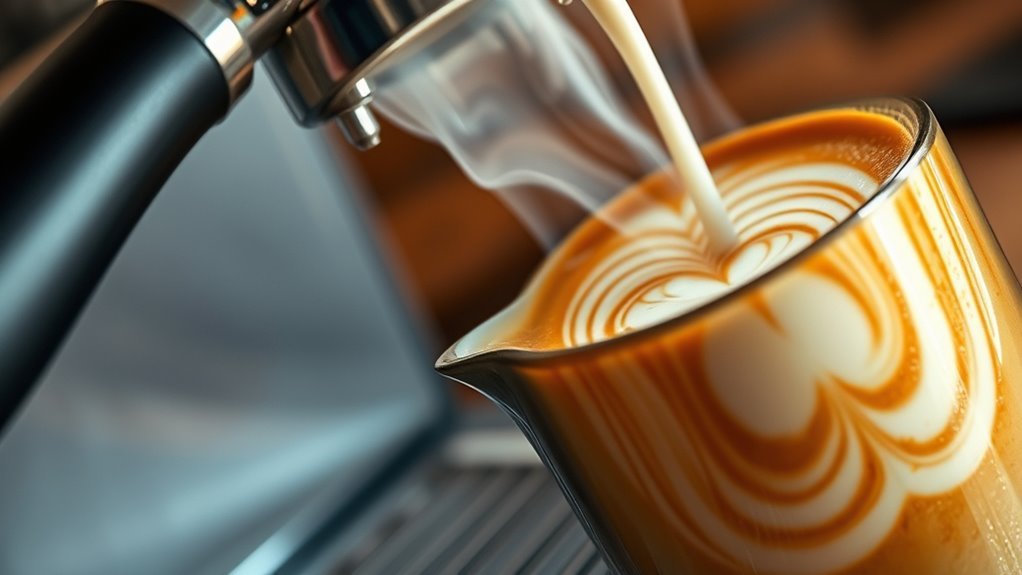
Achieving the perfect steamed milk for latte art requires a keen understanding of technique and practice. To master your steaming techniques, focus on the following:
- Positioning the Steam Wand: Angle it just below the surface of the milk to introduce air. This helps create that luscious frothing consistency.
- Creating a Whirlpool: Submerge the wand deeper to circulate the milk. This guarantees uniform heating and a silky texture essential for latte art.
- Listening for the Right Sound: Pay attention to the hissing and bubbling. The right sound indicates you’re incorporating enough air without over-frothing.
Creating Microfoam With Oat Milk
Although steaming oat milk can be a bit tricky due to its lower fat content, you can create a velvety microfoam that’s perfect for latte art with the right approach. Start by using barista-specific oat milk, as it’s designed to froth better. Pour your oat milk into a chilled pitcher, filling it to about one-third. Position the steam wand just below the surface and create a whirlpool by angling the pitcher slightly. As the milk begins to froth, lower the pitcher to maintain the steam wand’s position. Use microfoam techniques, like stretching and texturing, to incorporate air gently. Remember to stop steaming when it reaches around 150°F. With practice, you’ll master oat milk microfoam and elevate your latte art game!
Mastering Almond Milk for Latte Art
When it comes to steaming almond milk for latte art, you’ll find that its unique composition presents both challenges and opportunities. To achieve the perfect froth, consider these frothing techniques:
- Temperature Control: Heat almond milk to around 150°F (65°C) to prevent separation and maintain sweetness.
- Aeration: Introduce air gently during the initial frothing phase; too much can lead to a grainy texture.
- Whisking Motion: Use a circular motion to create a whirlpool effect, promoting even microfoam distribution.
Mastering these techniques allows you to embrace the freedom of creativity in your latte art. With practice, you’ll transform almond milk into a canvas for your artistry, enchanting your audience with each pour.
Steaming Soy Milk: Tips and Tricks
While soy milk can be a bit trickier to steam than dairy, mastering the right techniques can yield fantastic results for your latte art. Start by choosing high-quality soy milk brands that are specifically designed for barista use; they often have additives that help create a better microfoam. When steaming, aim for a temperature around 140°F to 150°F, as overheating can lead to separation. Incorporate air early on to create that velvety texture, then submerge the wand to heat the milk evenly. One of the soy milk benefits is its rich, creamy consistency, which can enhance your latte’s flavor. Remember, practice makes perfect, so keep experimenting until you achieve that beautiful latte art you desire!
Troubleshooting Common Steaming Issues
Even with the right techniques and quality soy milk, you may encounter some common steaming issues that can affect your latte art. Here are some troubleshooting techniques to help you regain that steaming consistency:
- Inconsistent Texture: If your milk’s texture varies, check your steam wand placement. Aiming too deep will create a whirlpool, while too shallow won’t incorporate enough air.
- Burnt Flavor: If your milk tastes scorched, your steam wand might be too hot. Lower the temperature or adjust your steaming time.
- Bubbles and Separation: If you see large bubbles or separation, verify you’re incorporating air slowly at the beginning. This helps create a smoother microfoam.
Frequently Asked Questions
Can I Use Flavored Milk Alternatives for Latte Art?
You might be wondering if flavored milk alternatives can elevate your latte art game. While they bring delightful flavor profiles to the table, their steaming characteristics can differ. Flavored milk benefits include enhanced taste and creativity in your beverages. However, keep in mind that some may not froth as well as traditional options. Experimenting with various alternatives can lead to exciting combinations that reflect your unique style and preferences in every cup!
How Does Temperature Affect Steamed Milk Alternatives?
Temperature’s vital when steaming milk alternatives, as it directly affects milk consistency. Ideally, you should aim for a temperature range of 150-155°F. If it’s too hot, the milk can scorch, leading to a grainy texture and altered flavor. Conversely, if it’s too cool, you won’t achieve the desired microfoam needed for art. Finding that sweet spot not only enhances the taste but also guarantees your latte art looks stunning and holds its shape.
What Is the Ideal Frothing Pitcher Size for Steaming?
When it comes to frothing pitcher size, you’ll want one that’s comfortable for your hands and suitable for the amount of milk you’re steaming. A 12 to 20-ounce pitcher is ideal for most home brewers. Consider the materials, like stainless steel for durability and heat retention. Also, a well-designed handle guarantees you have a secure grip, allowing you to maneuver easily while frothing. The right size and design can enhance your steaming experience.
How Do I Clean My Steaming Wand After Use?
After you’ve finished steaming, it’s essential to clean your steaming wand to maintain peak performance. Use a damp cloth to wipe the wand immediately, preventing milk residue buildup. Then, purge the wand by steaming a bit of water to clear any remaining milk. Incorporating this cleaning routine into your steaming techniques guarantees longevity and hygiene. Regular maintenance not only keeps your equipment in top shape but also enhances your overall coffee experience.
Can I Steam Non-Dairy Creamers for Latte Art?
You might think steaming non-dairy creamers is tricky, but it’s totally doable with the right approach. When you explore milk alternative types like oat or almond creamer, you’ll find they froth beautifully with the right technique. Just remember, non-dairy frothing can differ from traditional milk, so you’ll need to adjust your steaming method. With a little practice, you’ll create stunning latte art that showcases your creativity and passion for plant-based beverages.