How to Make Nitro Cold Brew at Home
You can make nitro cold brew at home by choosing medium to dark roast beans with rich undertones and grinding them coarsely for balanced flavor. Steep the grounds in cold water (1:4 to 1:8 ratio) for 12–24 hours in the fridge. Strain well, then infuse nitrogen using a nitro charger or tank with a stout keg or dispenser. Serve cold for creamy, smooth foam. Keep it chilled and sealed to preserve freshness. Discover tips to perfect your brew and troubleshoot common issues!
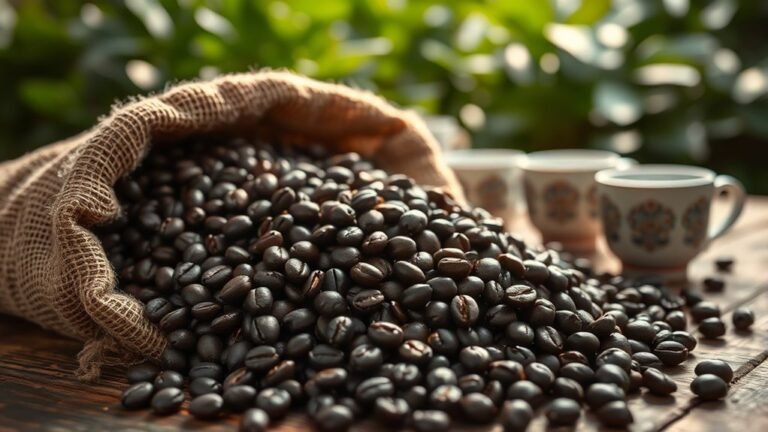
Choosing the Right Coffee Beans

Selecting the right coffee beans is essential for crafting an exceptional nitro cold brew. You want to explore coffee bean varieties that naturally complement the smooth, creamy texture nitro infuses. Typically, medium to dark roasts work best because their richer flavor profiles hold up well against the nitrogen’s subtle sweetness. Look for beans with chocolatey, nutty, or caramel undertones—these notes enhance the brew’s depth without overpowering it. Don’t shy away from experimenting with single-origin beans if you crave more distinct, vibrant flavor profiles. Your choice directly influences your cold brew’s character, so pick beans that align with your taste freedom. By understanding the nuances of coffee bean varieties and their flavor profiles, you set a bold foundation for a nitro cold brew experience that’s uniquely yours.
Grinding Your Coffee for Cold Brew
Since the grind size directly impacts extraction and flavor, getting it right is essential for your nitro cold brew. You’ll want a coarse grind—think chunky, like sea salt—not too fine, or your coffee might become bitter and over-extracted. Achieving a consistent coffee consistency guarantees smooth, balanced flavors and prevents sediment from slipping through your filter. Using a burr grinder is your best bet for uniformity, giving you control and freedom to tweak the grind size exactly how you like. Avoid blade grinders, as they produce uneven particles, compromising your brew’s clarity. Remember, dialing in your grind size is a game-changer; it lets you access the full potential of your beans and craft that silky, rich nitro cold brew you crave.
Preparing the Cold Brew Coffee
To prepare your cold brew coffee, start by combining your coarsely ground coffee with cold, filtered water in a large container. This simple step sets the foundation for all cold brew methods. To elevate your brew and embrace total freedom in flavor, consider these tips:
- Use a 1:4 to 1:8 coffee-to-water ratio depending on how strong you want your concentrate.
- Stir gently to guarantee all grounds are saturated, releasing maximum flavor enhancements.
- Cover the container to prevent unwanted aromas from seeping in and to keep your brew fresh.
Steeping Time and Temperature Tips

Once your coffee grounds are fully saturated, the next step is to focus on steeping time and temperature, which play a major role in shaping the flavor profile of your cold brew. Mastering steeping techniques allows you to customize your brew’s strength and smoothness. Typically, steeping for 12 to 24 hours in the fridge at around 35-45°F (2-7°C) brings out rich, balanced flavors without bitterness. However, experimenting with temperature variations can elevate your cold brew game—warmer steeping speeds extraction but may add acidity, while cooler temperatures slow it down, resulting in a smoother cup. Feel free to adjust steeping duration and temperature to suit your taste and lifestyle; embracing this freedom guarantees your nitro cold brew is uniquely yours every time.
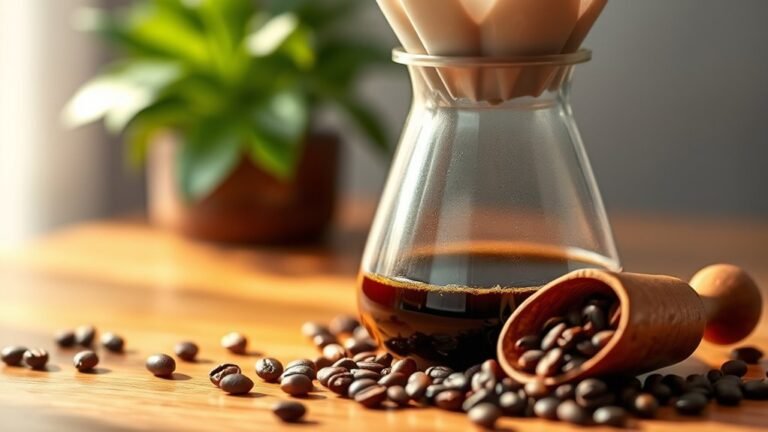
Straining and Filtering Your Cold Brew
After steeping your coffee to perfection, you’ll want to strain and filter it carefully to achieve that smooth, clean flavor essential for nitro cold brew. Using the right straining methods and filtering techniques guarantees no grit ruins your brew’s silky texture. Here’s how to do it:
Strain and filter your coffee meticulously to unlock the smooth, clean flavor every nitro cold brew deserves.
- Coarse Straining – Use a mesh sieve or French press plunger to catch large grounds.
- Fine Filtering – Pass the liquid through a coffee filter or a nut milk bag to remove finer sediment.
- Double Filtering – For ultimate clarity, strain twice, combining both techniques to eliminate all particles.
Mastering these steps liberates you from gritty, harsh brews, revealing the smooth, velvety essence you crave in every nitro cold brew glass. Enjoy the freedom of flawless homemade coffee!
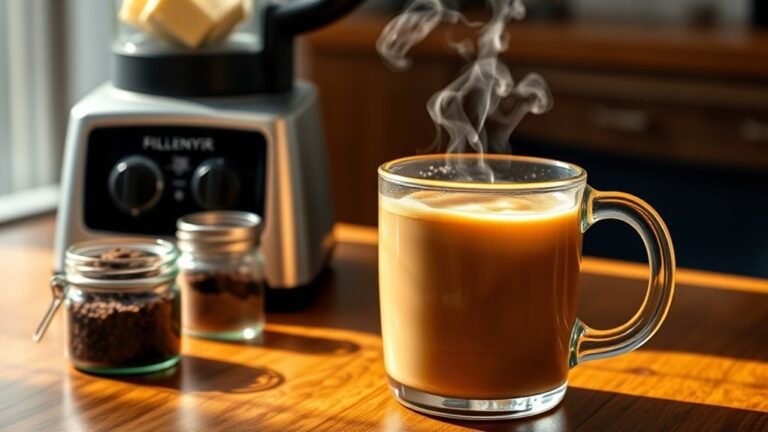
Essentials for Nitro Infusion
Although your cold brew is now perfectly filtered, achieving that signature creamy texture and cascading effect requires the right equipment and ingredients for nitro infusion. You’ll need a nitrogen tank or a nitro charger, both designed to infuse nitrogen gas into your cold brew, giving it that smooth mouthfeel and rich foam. A nitrogen tank offers more control and volume for frequent use, while a nitro charger is compact and convenient for smaller batches. Additionally, using a stout-style keg or a specialized nitro dispenser guarantees the nitrogen integrates properly, creating those mesmerizing bubbles. Investing in quality equipment lets you enjoy café-quality nitro cold brew anytime, giving you the freedom to craft your perfect cup at home.
How to Infuse Nitrogen Into Cold Brew

Infusing nitrogen into your cold brew involves a few key steps that transform it into that velvety, creamy beverage you love. Whether you’re using a professional setup or a DIY nitro setup, understanding nitrogen infusion methods is essential to get that smooth texture and rich mouthfeel. Here’s how to do it:
- Chill Your Cold Brew – Cold brew must be cold to absorb nitrogen effectively.
- Connect Your Nitrogen Source – Attach your nitrogen tank or cartridge to your DIY nitro setup securely.
- Infuse and Agitate – Introduce nitrogen into the brew while gently agitating to disperse bubbles evenly, creating that iconic frothy finish.
Master these steps, and you’ll enjoy freedom in crafting café-quality nitro cold brew right at home!
Serving Your Nitro Cold Brew Perfectly
To serve your nitro cold brew perfectly, choosing the right glassware is key—it should highlight the creamy texture and cascading bubbles. You’ll also want to keep your brew at the ideal temperature, around 38°F, to maintain its smooth flavor and frothy head. Let’s explore how these simple tips can elevate your nitro cold brew experience.
Ideal Glassware Choices
Choosing the right glassware can elevate your nitro cold brew experience by enhancing both its look and taste. The glass you pick affects the presentation and the way you perceive the coffee’s texture and aroma. Here are three ideal glass types to contemplate:
- Pint Glass – Classic and simple, it showcases the creamy cascade and rich color, adding to its aesthetic appeal.
- Tulip Glass – Its shape captures and concentrates aromas, letting you savor the nitro’s full flavor spectrum.
- Stemmed Glass – Offers elegance and insulation, keeping your brew cooler longer while boosting visual appeal.
Selecting any of these lets you enjoy your nitro cold brew freely, making every sip a smooth, sensory delight.
Serving Temperature Tips
Once you’ve picked the perfect glass to showcase your nitro cold brew, the next step is ensuring it’s served at just the right temperature. Keeping your brew cold without diluting the flavor is key—so pay attention to ice temperature. Using chilled, larger ice cubes slows melting, preserving the boldness and smooth texture that nitro cold brew is known for. Avoid overly cold or freezing temperatures that could numb your palate and mask the intricate flavor balance you worked hard to achieve. Aim for a rejuvenating chill that enhances the creamy mouthfeel and natural sweetness. Serving your nitro cold brew at this ideal temperature lets you enjoy every velvety sip with freedom and style, revealing its full potential with every pour.
Storing Nitro Cold Brew at Home
Although nitro cold brew is best enjoyed fresh, you can store it at home to extend its delicious, creamy texture and rich flavor. Proper nitro cold brew storage is key to maintaining that smooth, velvety experience you crave. Here’s how to keep your brew fresh and vibrant:
- Use suitable storage containers like stainless steel or glass kegs designed for pressurized liquids—these preserve the nitrogen infusion and prevent oxidation.
- Keep your container sealed tightly and refrigerated at around 38°F (3°C) to slow down flavor degradation.
- Avoid frequent opening to maintain nitrogen levels and prevent flatness.
Troubleshooting Common Issues
Keeping your nitro cold brew fresh and properly stored sets the foundation for a great tasting experience, but sometimes things don’t go as planned. If your brew tastes weak or off, it’s usually a coffee strength or flavor balance issue. Adjust your coffee-to-water ratio or steeping time to fix this. Also, improper nitrogen infusion can affect texture and foam quality. Here’s a quick guide to troubleshoot common issues:
| Issue | Solution |
|---|---|
| Weak Coffee Strength | Increase coffee grounds or steep longer |
| Flat Texture | Check nitrogen cartridge and infusion |
| Off Flavor Balance | Use fresh beans; adjust steeping time |
| Poor Foam Quality | verify keg seals are tight and clean |
With these tips, you’ll enjoy nitro cold brew freedom every time!
Frequently Asked Questions
Can I Use Regular Tap Water for Cold Brew Coffee?
Ever wonder if the water you use could make or break your brew? When it comes to cold brew coffee, water quality plays a starring role in the brewing method’s success. You can use regular tap water, but if it tastes off or contains impurities, it might dull your coffee’s flavor. For the best, go for filtered or bottled water—this way, you’ll reveal the richest, smoothest cold brew experience that fuels your freedom-loving spirit!
How Much Caffeine Is in Nitro Cold Brew Compared to Regular Coffee?
You might be curious about the caffeine content in nitro cold brew compared to regular coffee. Nitro cold brew usually packs more caffeine per ounce because it’s brewed longer and concentrated. Plus, its creamy, smooth texture and slightly sweet taste make it a revitalizing twist versus traditional coffee’s bold bitterness. So, if you want a caffeine kick with a unique taste, nitro cold brew is a fantastic choice to energize your day.
Is Nitro Cold Brew Safe for Children or Pregnant Women?
Did you know that nitro cold brew typically contains about 215 mg of caffeine per 12 oz, nearly twice that of regular coffee? When considering nitro cold brew safety, especially for children or pregnant women, it’s best to be cautious. High caffeine intake can affect fetal development and a child’s nervous system. So, if you’re expecting or caring for kids, it’s wise to limit or avoid nitro cold brew to keep everyone feeling free and healthy.
Can I Add Milk or Sweeteners Before Infusing Nitrogen?
You can add milk or sweeteners before infusing nitrogen, but it’s better to wait until after. Adding milk alternatives or sweetener options beforehand might affect the nitrogen infusion, causing less froth or uneven texture. To keep that creamy, bubbly nitro feel, infuse nitrogen first, then mix in your favorite milk alternatives like oat or almond, plus sweetener options like honey or syrup. This way, you get freedom to customize without compromising texture!
What Equipment Alternatives Exist if I Don’t Have a Nitrogen Tank?
Like a magician without a wand, you might feel stuck without a nitrogen tank. But don’t worry—you can still create that creamy, frothy texture using a French press. Just pour your cold brew in, pump the plunger vigorously to infuse air, and voilà! For an extra touch of magic, top it with whipped cream. It’s freedom in a cup—no fancy equipment needed, just your enthusiasm and a bit of creativity.