How to Make Coffee With a Percolator
To make coffee with a percolator, start by choosing medium-ground, freshly roasted beans for best flavor. Fill the water chamber with cold water past the minimum line, then place the coffee basket securely with your grounds. Assemble the percolator, ensuring a tight lid, and heat it on medium. Brew for about 7-10 minutes, listening for the perking sound to gauge strength. Experiment with grind size and brew time for your ideal cup, and keep the percolator clean for peak taste. There’s more to master for a perfect brew.
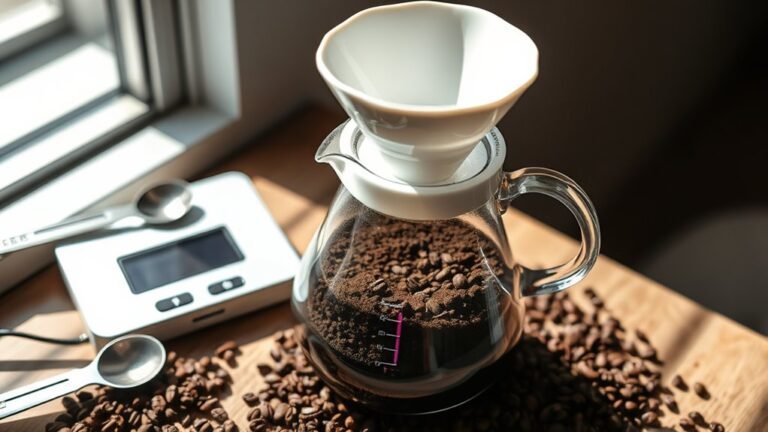
Choosing the Right Coffee Grounds
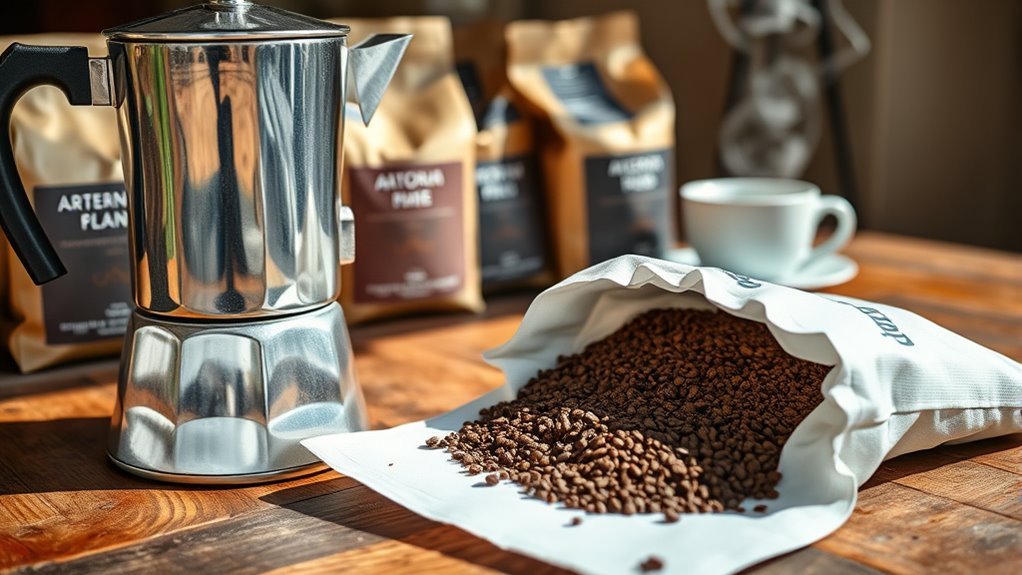
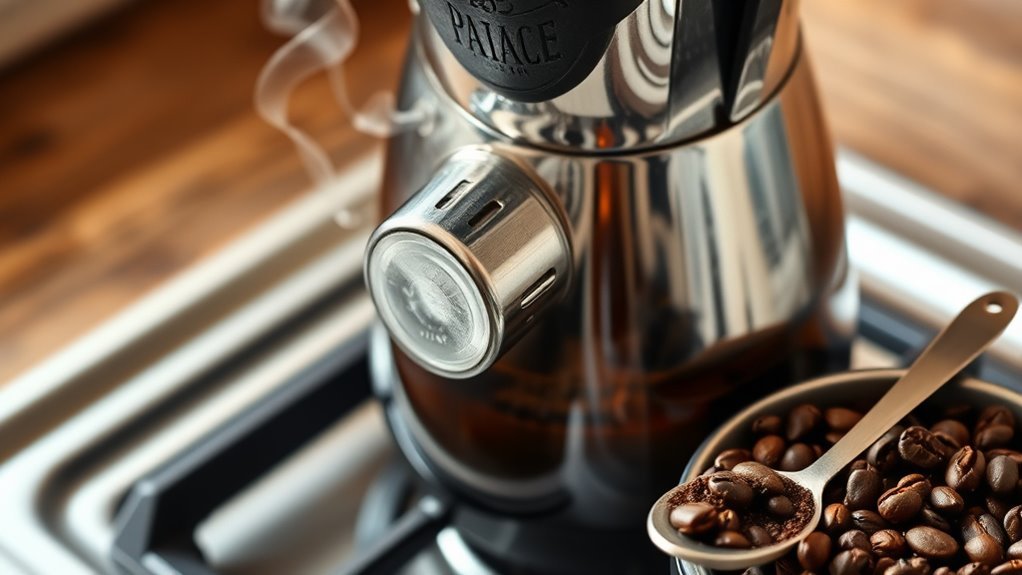
When choosing the right coffee grounds for your percolator, you’ll want to select a medium to coarse grind to guarantee the best extraction without over-extraction or bitterness. The grind size directly impacts how water interacts with the coffee; too fine, and your brew will be harsh and over-extracted, too coarse, and it’ll be weak and under-extracted. Always opt for freshly ground beans or sealed, freshly roasted coffee to maximize coffee freshness, preserving the essential oils and flavors that make each cup vibrant. Avoid pre-ground coffee that’s been sitting on shelves for weeks, as it loses aroma and potency. By controlling grind size and prioritizing coffee freshness, you maintain freedom over your brew’s quality, ensuring a satisfying, bold cup every time you use your percolator.
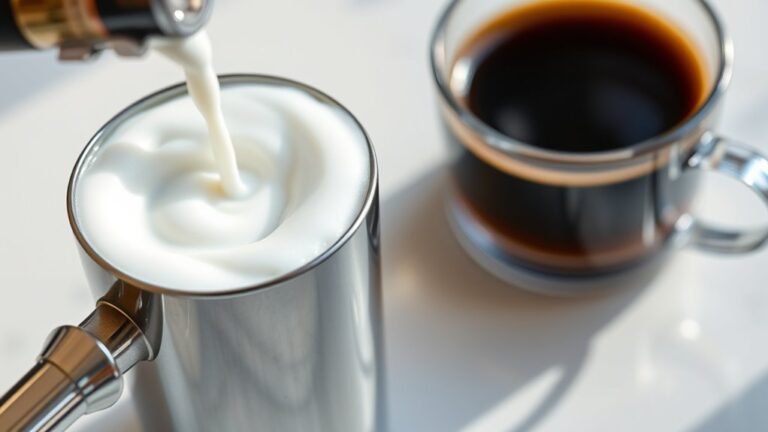
Preparing Your Percolator
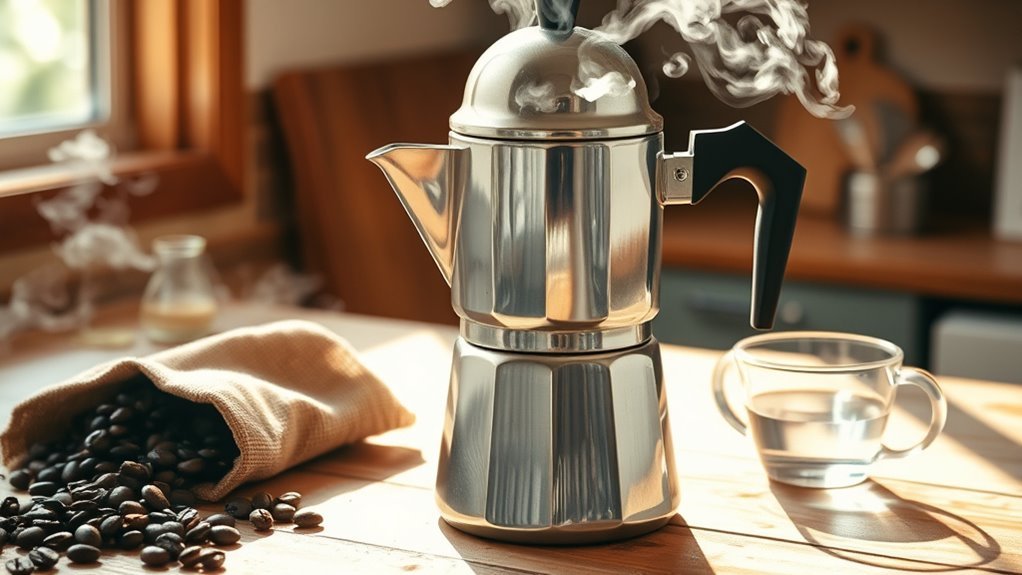
Once you’ve selected the ideal coffee grounds, the next step is to prepare your percolator correctly to guarantee an even brew. First, familiarize yourself with the percolator parts: the water chamber, coffee basket, and stem. Start by filling the water chamber with cold water, making certain you don’t exceed the maximum fill line to maintain proper water temperature during brewing. Next, insert the stem and place the coffee basket securely on top. Make sure the basket is clean and dry before adding coffee grounds. Check that the lid fits tightly to prevent heat loss. Finally, position the percolator on your heat source, ready for the brewing process. Proper setup guarantees a consistent extraction and a flavorful cup every time.
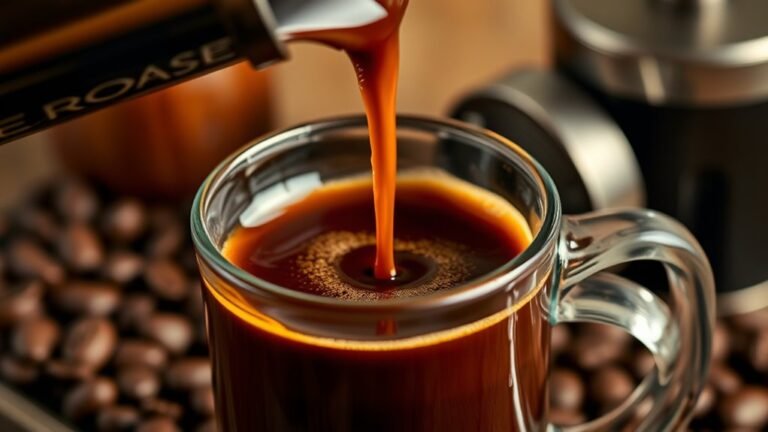
Brewing Process Step-by-Step
Start by placing your assembled percolator on a stable heat source set to medium heat. This guarantees even extraction without scorching the coffee. Depending on your percolator type—stovetop, electric, or camping—you’ll adjust the heat source accordingly. As water heats, it rises through the stem, dispersing over the grounds, a classic brewing technique unique to percolators. Watch carefully; once you hear the characteristic perking sound, start timing. Typically, 7-10 minutes yields ideal flavor. Remove from heat promptly to avoid bitterness.
| Step | Action | Notes |
|---|---|---|
| 1 | Assemble percolator | Confirm all parts fit tightly |
| 2 | Add water | Use filtered for clarity |
| 3 | Insert coffee grounds | Medium grind recommended |
| 4 | Heat percolator | Medium heat, stable surface |
| 5 | Monitor brew time & sound | Stop at 7-10 minutes |
Tips for Adjusting Strength and Flavor
Although the basic brewing process remains consistent, you can fine-tune your coffee’s strength and flavor by adjusting key variables like the coffee-to-water ratio, grind size, and brewing time. Mastering these strength adjustments allows you to customize flavor profiles to your liking, enhancing your coffee experience.
Adjust coffee strength and flavor by tweaking the coffee-to-water ratio, grind size, and brewing time.
- Increase coffee grounds for a bolder taste; reduce for a milder brew.
- Use a coarser grind to lessen bitterness; finer grind extracts more flavor.
- Extend brewing time for a stronger, richer cup; shorten it for lighter notes.
- Experiment with water temperature, ideally between 195°F and 205°F, to balance extraction.
- Stir grounds gently before brewing to guarantee even saturation and consistent flavor.
Cleaning and Maintaining Your Percolator
Because mineral deposits and coffee oils build up with each use, regularly cleaning and maintaining your percolator is essential to preserve its performance and guarantee the best flavor in every brew. Start by disassembling the percolator and rinsing all parts with warm water after each use. Implement a maintenance schedule that includes a deep clean every week using a mixture of equal parts water and white vinegar. Let it percolate this solution, then rinse thoroughly to remove any residual taste. For stubborn buildup, gently scrub the basket and tube with a soft brush. Avoid abrasive cleaners that can damage the metal surfaces. By adhering to these cleaning techniques and a consistent maintenance schedule, you’ll enjoy a percolator that brews freely and flavors coffee at its peak every single time.
Frequently Asked Questions
Can I Use a Percolator on an Electric Stove?
You can definitely use a percolator on an electric stove, but you’ll want to check your percolator’s electric stove compatibility first. Some percolators work better on electric coils than others. Make sure you maintain proper percolator maintenance by cleaning it regularly to avoid residue build-up, which could affect heating efficiency. Using a medium heat setting helps prevent scorching and keeps your coffee tasting great, giving you freedom to enjoy your brew hassle-free.
How Long Does Percolated Coffee Stay Fresh?
Percolated coffee stays fresh for about 30 minutes to an hour before it starts to lose flavor. To keep that bold taste longer, follow freshness tips like storing it in an airtight container and avoiding heat sources. If you want to extend its life, pour leftover coffee into a thermos right after brewing. These storage methods preserve flavor and let you enjoy freedom from rushed coffee breaks without sacrificing quality.
Is Percolated Coffee Healthier Than Drip Coffee?
When comparing health benefits, you’ll find that both percolated and drip coffee offer antioxidants, but brewing methods affect the compounds released. Percolators cycle boiling water repeatedly, which can increase bitterness and potentially degrade some antioxidants. Drip coffee, with gentler extraction, might preserve more of these compounds. Ultimately, your choice depends on taste preference and how you value these subtle health differences—both methods provide a freedom to enjoy coffee’s benefits your way.
Can I Use Flavored Coffee Grounds in a Percolator?
Imagine adding a splash of your favorite syrup to a classic lemonade—flavored coffee grounds work similarly in a percolator. You can absolutely use flavored coffee, but remember, brewing techniques matter. The percolator’s repeated cycling can intensify flavors, sometimes making them stronger or even bitter. To keep your cup enjoyable, try milder flavors or reduce brewing time. This way, you maintain freedom to experiment while crafting a balanced, delicious brew.
What Is the History of the Coffee Percolator?
You’ll find the coffee percolator played a key role in coffee evolution, emerging in the 19th century as a popular brewing technique. It revolutionized how people brewed coffee, cycling boiling water through grounds to extract bold flavors. This method gave you control and freedom over strength, shaping coffee culture before drip machines dominated. Understanding this helps you appreciate how brewing techniques evolved to meet your taste and convenience preferences.