Advanced Latte Art: Tulips, Rosettas, and Swans
To master advanced latte art like tulips, rosettas, and swans, start by perfecting your milk texturing—aim for silky microfoam at 140–150°F. Pour steadily to shape tulip petals, use wrist control for sharp rosetta leaves, and create elegant swan necks with thin, graceful streams. A quality steam wand and narrow-spout pitcher are essential for precision. Nail these techniques, and your pours will become both beautiful and consistent. Keep exploring these skills to elevate your coffee craft even further.
Understanding Milk Texturing for Advanced Latte Art
Although it might seem simple at first, mastering milk texturing is essential if you want to create advanced latte art that truly stands out. You need to focus on milk frothing to achieve the ideal texture consistency—silky and smooth, without large bubbles. Start with cold milk and a clean steam wand, then position the wand just below the surface to introduce microfoam gradually. As you froth, keep an eye on the temperature; around 140–150°F is perfect to preserve sweetness and texture. Achieving the right texture consistency guarantees your milk pours smoothly, allowing you to control how the design forms on your espresso. With practice, your milk frothing skills will free you to explore intricate patterns confidently, elevating your latte art to an advanced level.
Mastering the Tulip Pattern: Step-by-Step Guide
The tulip pattern is a classic design that many baristas aim to master because it combines elegance with relative simplicity. To start, pour a steady stream of velvety microfoam into the center of your espresso, then gently lower your pitcher as you create the first heart shape. Lift slightly and pour a second heart, connecting it below the first. Repeat for additional layers depending on your desired tulip variations. Focus on maintaining control over your pour speed and height to achieve clean, distinct shapes. To enhance your tulip’s visual appeal, emphasize color contrast by allowing the dark crema to frame the white milk foam petals. With practice, you’ll gain the freedom to explore creative tulip variations while maintaining crisp lines and beautiful symmetry.
Creating the Rosetta: Techniques and Tips
When you want to elevate your latte art skills, mastering the rosetta pattern is essential. This classic design offers endless freedom through rosetta variations and refined pouring strategies. To create a stunning rosetta, focus on:
- Steady, controlled wrist movement to achieve sharp leaf edges
- Consistent milk texture for a smooth, velvety pour
- Starting your pour high to mix espresso and milk, then lowering to draw leaves
- Adjusting flow speed to add complexity or simplicity in your design
Each pour lets you explore your unique style within these techniques. By practicing these tips, you’ll reveal new creative possibilities and confidently express your art. Embrace the freedom rosetta variations offer, and soon your latte art will reflect your personal touch with precision and flair.
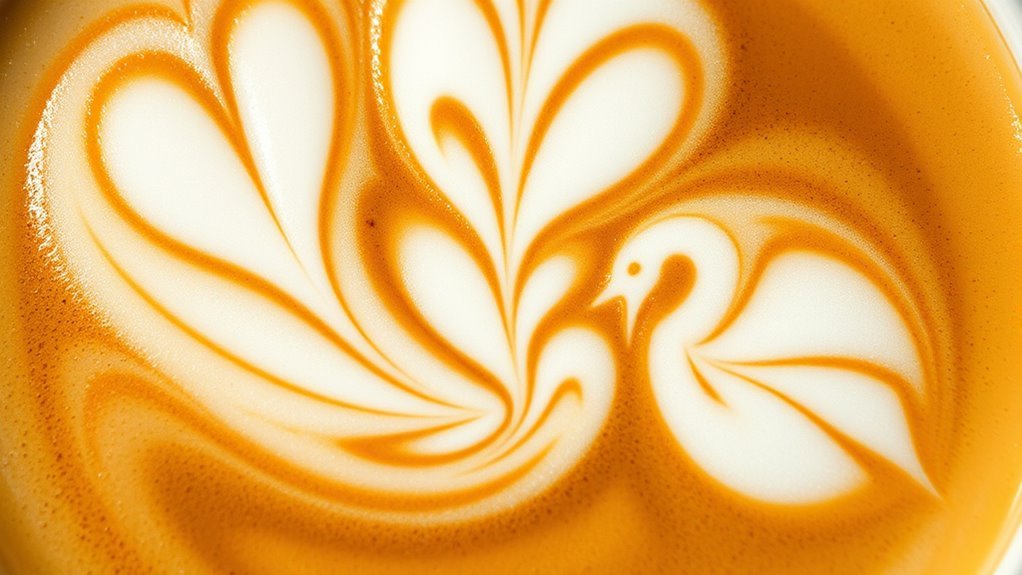
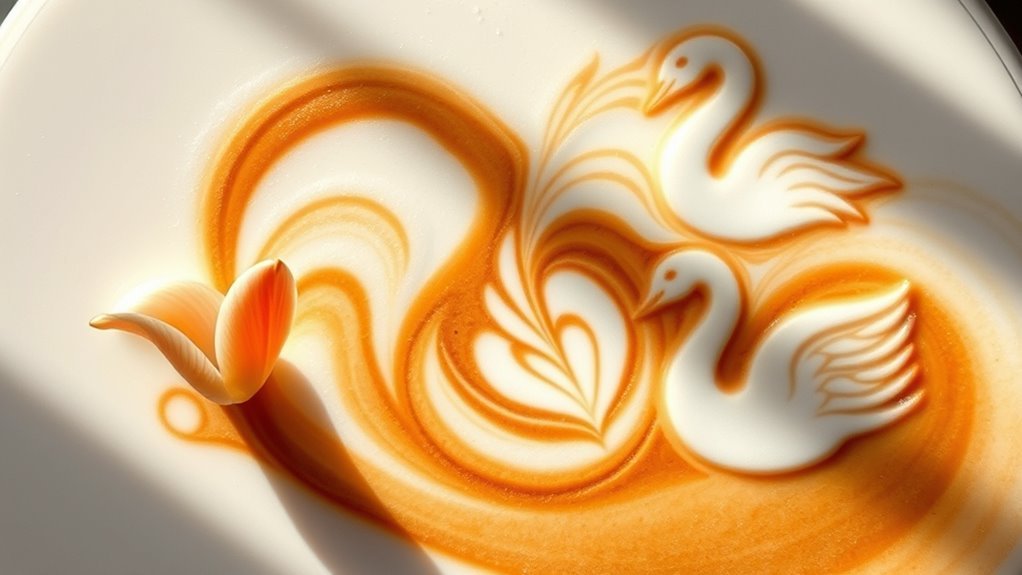
Pouring the Elegant Swan Design

Mastering the elegant swan design takes patience and practice, but it’s a rewarding step in your latte art journey. To pour the swan design, start with steady, controlled movements. Begin by creating a base heart shape, then extend the neck with a fine, graceful pour to form the swan’s head. Remember, the key to the swan design’s elegant presentation lies in smooth shifts and confident wrist control.
| Step | Tip |
|---|---|
| Base Heart | Pour slowly for a defined shape |
| Neck & Head | Use a thin stream, steady wrist |
| Finishing Touches | Lift pour to create wing details |
Keep practicing these steps, and you’ll soon enjoy the freedom to craft this sophisticated design with elegance.
Troubleshooting Common Pouring Challenges
Although pouring latte art can be challenging, you can overcome common issues with focused practice and simple adjustments. Mastering your pouring angles and cup positioning are key to refining your designs. If your patterns blur or fade, consider these tips:
- Adjust your pouring angle to control milk flow and contrast.
- Tilt the cup to help the milk settle and guide the design.
- Pour steadily; inconsistent flow disrupts clarity.
- Practice timing to avoid over- or under-pouring.
When you control these variables, your tulips, rosettas, and swans will come to life with precision. Remember, freedom in your art comes from understanding how small changes affect the final pour. Keep experimenting, and soon you’ll troubleshoot effortlessly, creating stunning latte art every time.
Tools and Equipment to Enhance Your Latte Art
Three essential tools can elevate your latte art from good to exceptional: a quality steam wand, a well-designed milk pitcher, and a sharp thermometer. These latte tools give you control over milk texture and temperature, vital for crafting intricate designs like tulips, rosettas, and swans. When exploring equipment options, consider pitchers with a narrow spout for precision pouring and steam wands that deliver consistent microfoam. A reliable thermometer helps you hit the perfect milk temperature, avoiding burnt or under-steamed milk. Investing in these tools isn’t just about gear; it’s about releasing your creative freedom to experiment confidently. With the right equipment, your latte art will evolve faster, letting you express your unique style in every cup. Don’t settle—choose tools that empower your craft.
Incorporating Advanced Designs Into Your Coffee Routine
To bring advanced latte art into your daily routine, focus on mastering your pouring techniques for greater control. Pay close attention to achieving the perfect milk texture, as it’s essential for sharp, detailed designs. Consistent practice with specific patterns will help you build confidence and impress every time.
Mastering Pouring Techniques
Mastering pouring techniques is key to elevating your latte art from basic to breathtaking. By refining your pouring angles and cup positioning, you gain control over the flow and shape of your designs. Here’s how to unleash your creative freedom:
- Tilt your cup slightly to guide the milk and create delicate patterns.
- Adjust pouring angles to vary flow speed, influencing design complexity.
- Start pouring from higher above for broad base layers, then lower to refine details.
- Pause and move the pitcher subtly to craft intricate shapes like tulips or swans.
With practice, these subtle adjustments become second nature. Remember, each pour is a chance to express yourself and push your artistic boundaries. Embrace the process, and soon your latte art will reflect your unique style with confidence and flair.
Selecting Optimal Milk Texture
Although pouring technique shapes your latte art, selecting the ideal milk texture is just as essential for achieving clean, vibrant designs. Different milk types—whole, skim, or plant-based—offer unique texture variations that influence your final pour. Whole milk creates a rich, creamy microfoam perfect for detailed tulips and rosettas, while skim milk produces lighter foam with larger bubbles, less suited for intricate patterns. Plant-based options vary widely; oat milk tends to froth well, but almond or soy might require extra care to reach the right consistency. Aim for a velvety, glossy microfoam that flows smoothly, allowing precise control. Experiment with steam wand positioning and temperature to master texture variations. By selecting and mastering the right milk texture, you’ll gain the freedom to craft stunning latte art with confidence and ease.
Practicing Consistent Patterns
Achieving the perfect milk texture sets the stage, but consistently recreating your designs takes deliberate practice. To incorporate advanced latte art into your routine, focus on developing pattern recognition and commit to consistent practice. This approach sharpens your muscle memory and helps you anticipate each pour’s flow.
Here’s how you can enhance your skills:
- Dedicate time daily to practice specific patterns like tulips or rosettas.
- Analyze each pour to identify subtle differences in flow and texture.
- Record your progress visually to track improvements and challenges.
- Experiment with variations to build confidence and creative freedom.
Frequently Asked Questions
Can I Use Non-Dairy Milk for Advanced Latte Art?
You can definitely use non dairy options for advanced latte art, but you’ll need to adjust your frothing techniques. Non-dairy milks like oat, almond, or soy behave differently when steamed—they might froth less or separate faster. Don’t get discouraged; experimenting with temperature and steaming time helps you find the sweet spot. With practice, you’ll master beautiful designs while embracing the freedom to choose milk that fits your lifestyle and taste.
How Does Water Temperature Affect Milk Frothing?
Water temperature plays an essential role in milk steam and frothing techniques. If the water’s too hot, it can scald the milk, ruining its texture and taste. Too cold, and you won’t get the right microfoam needed for smooth frothing. You want to aim for around 140-150°F (60-65°C) to achieve silky, velvety milk. Mastering this gives you freedom to create perfect froth every time, enhancing your coffee experience.
What Is the Best Type of Espresso Machine for Latte Art?
Imagine your espresso machine as the brush in an artist’s hand, the tool that brings your canvas to life. When exploring espresso machine types for latte art techniques, you’ll find that a machine with a powerful steam wand and consistent pressure is key. Semi-automatic or prosumer machines offer you the freedom to perfect your frothing and pouring skills, letting your creativity flow without limits. Choose wisely, and your latte art will truly shine.
How Long Does It Take to Master Advanced Latte Art?
Mastering advanced latte art takes dedication, and how long depends on your commitment to practice techniques and skill progression. You’ll need consistent daily practice to refine your milk frothing, pouring control, and design precision. With focused effort, many see noticeable improvement within months, but true mastery can take a year or more. Stay patient and enjoy the creative freedom this journey offers—you’ll get there faster than you think!
Are There Health Benefits to Drinking Latte Art Coffee?
You might think latte art is just for show, but your coffee’s health benefits aren’t diminished by the fancy designs. In fact, moderate coffee consumption can boost your metabolism, improve mental focus, and provide antioxidants. So, while the art delights your senses, your body still reaps the perks. Enjoying a beautifully crafted latte lets you savor both freedom and wellness in every cup—making your coffee break a truly rewarding experience.